Stripe Webhook Integration
Guide for integrating Stripe Webhook in local and production environment.
Local development
We got the subscription setup. One last thing we have to do now is integrate the Stripe webhook.
Follow the below instructions to integrate the stripe webhook for local development.
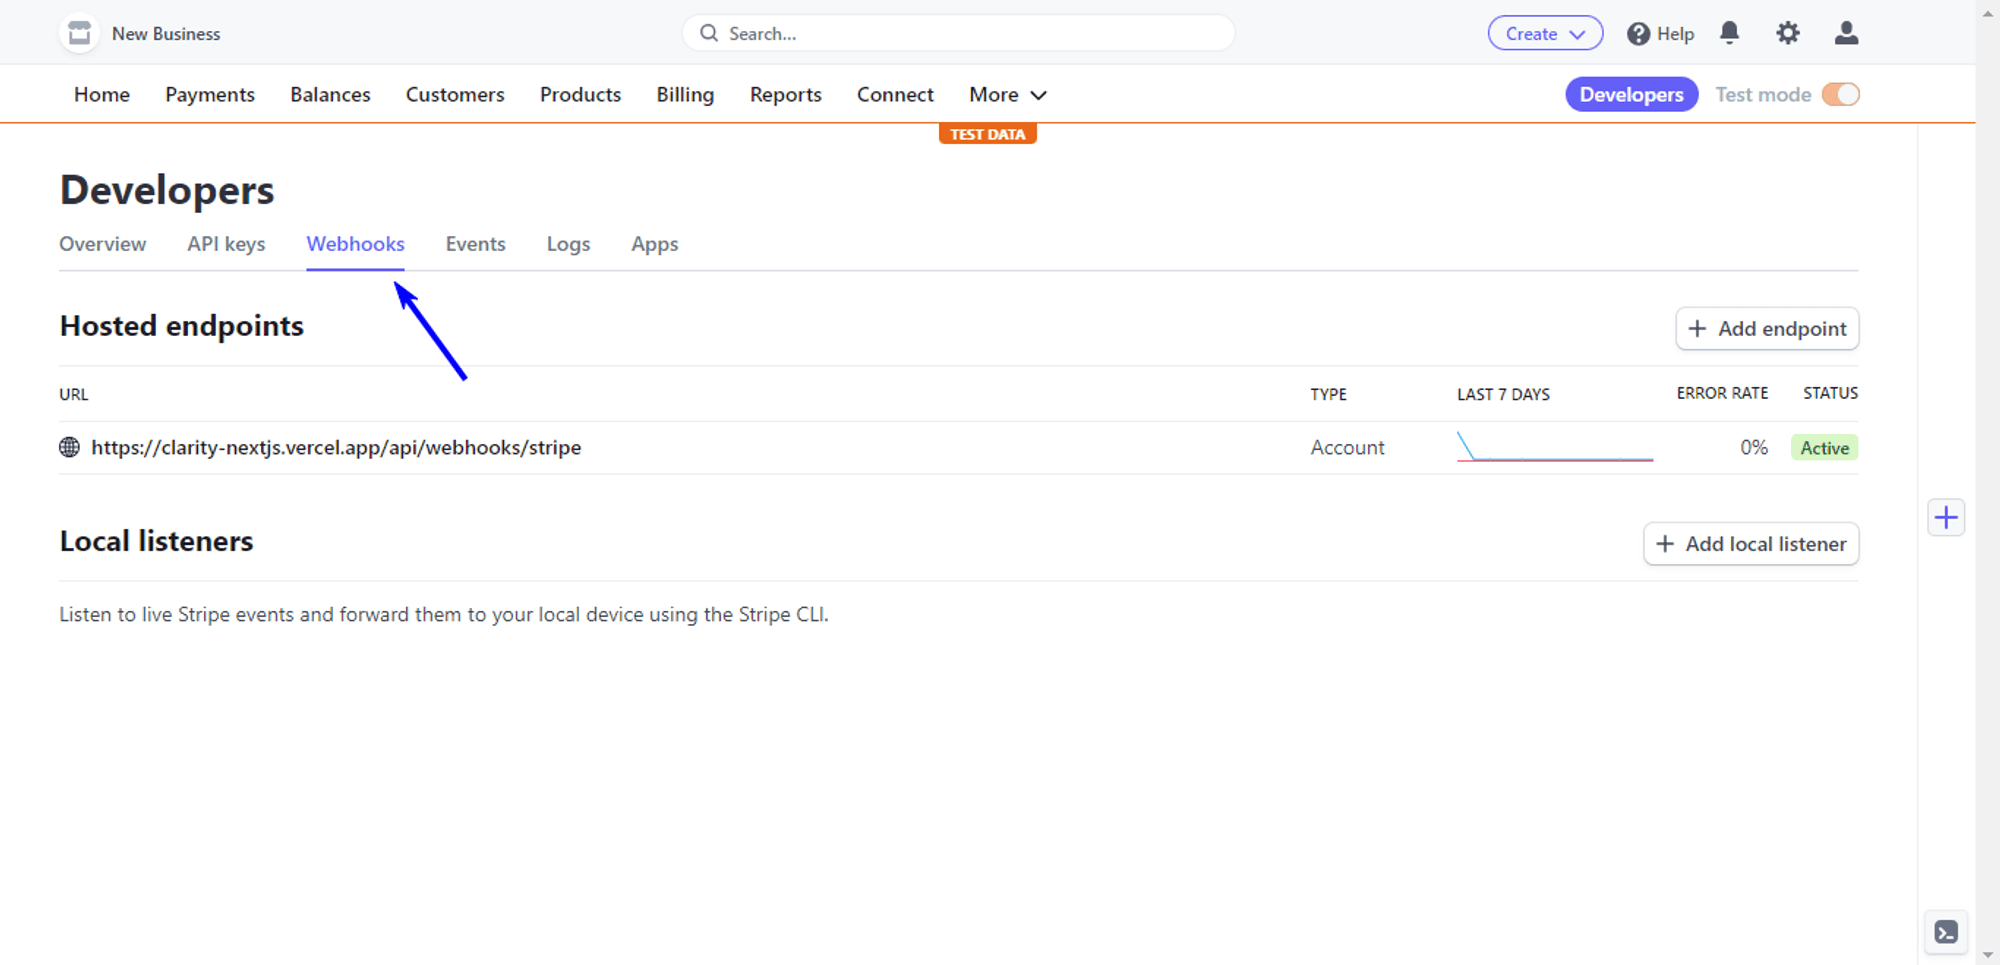
- Go to the Webhooks tab under the Developers page
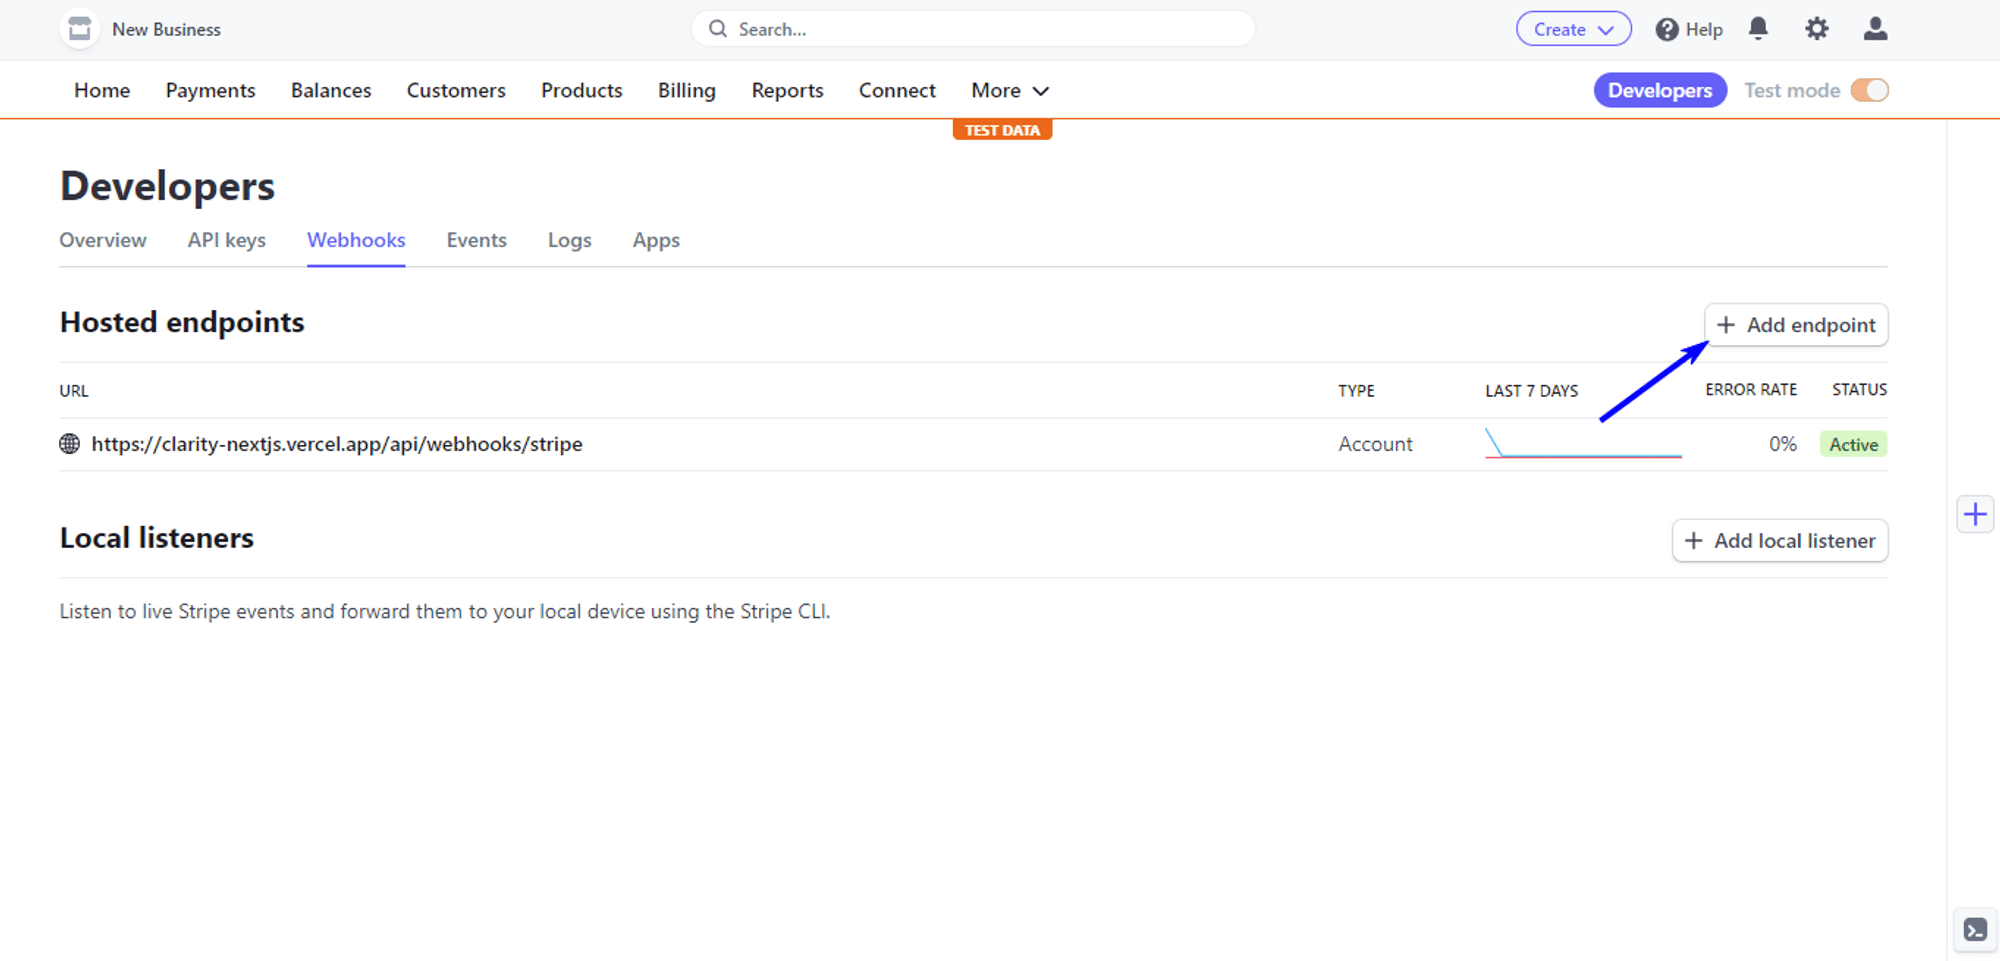
- Now click on the Add endpoint button.
- Select Test in a local environment
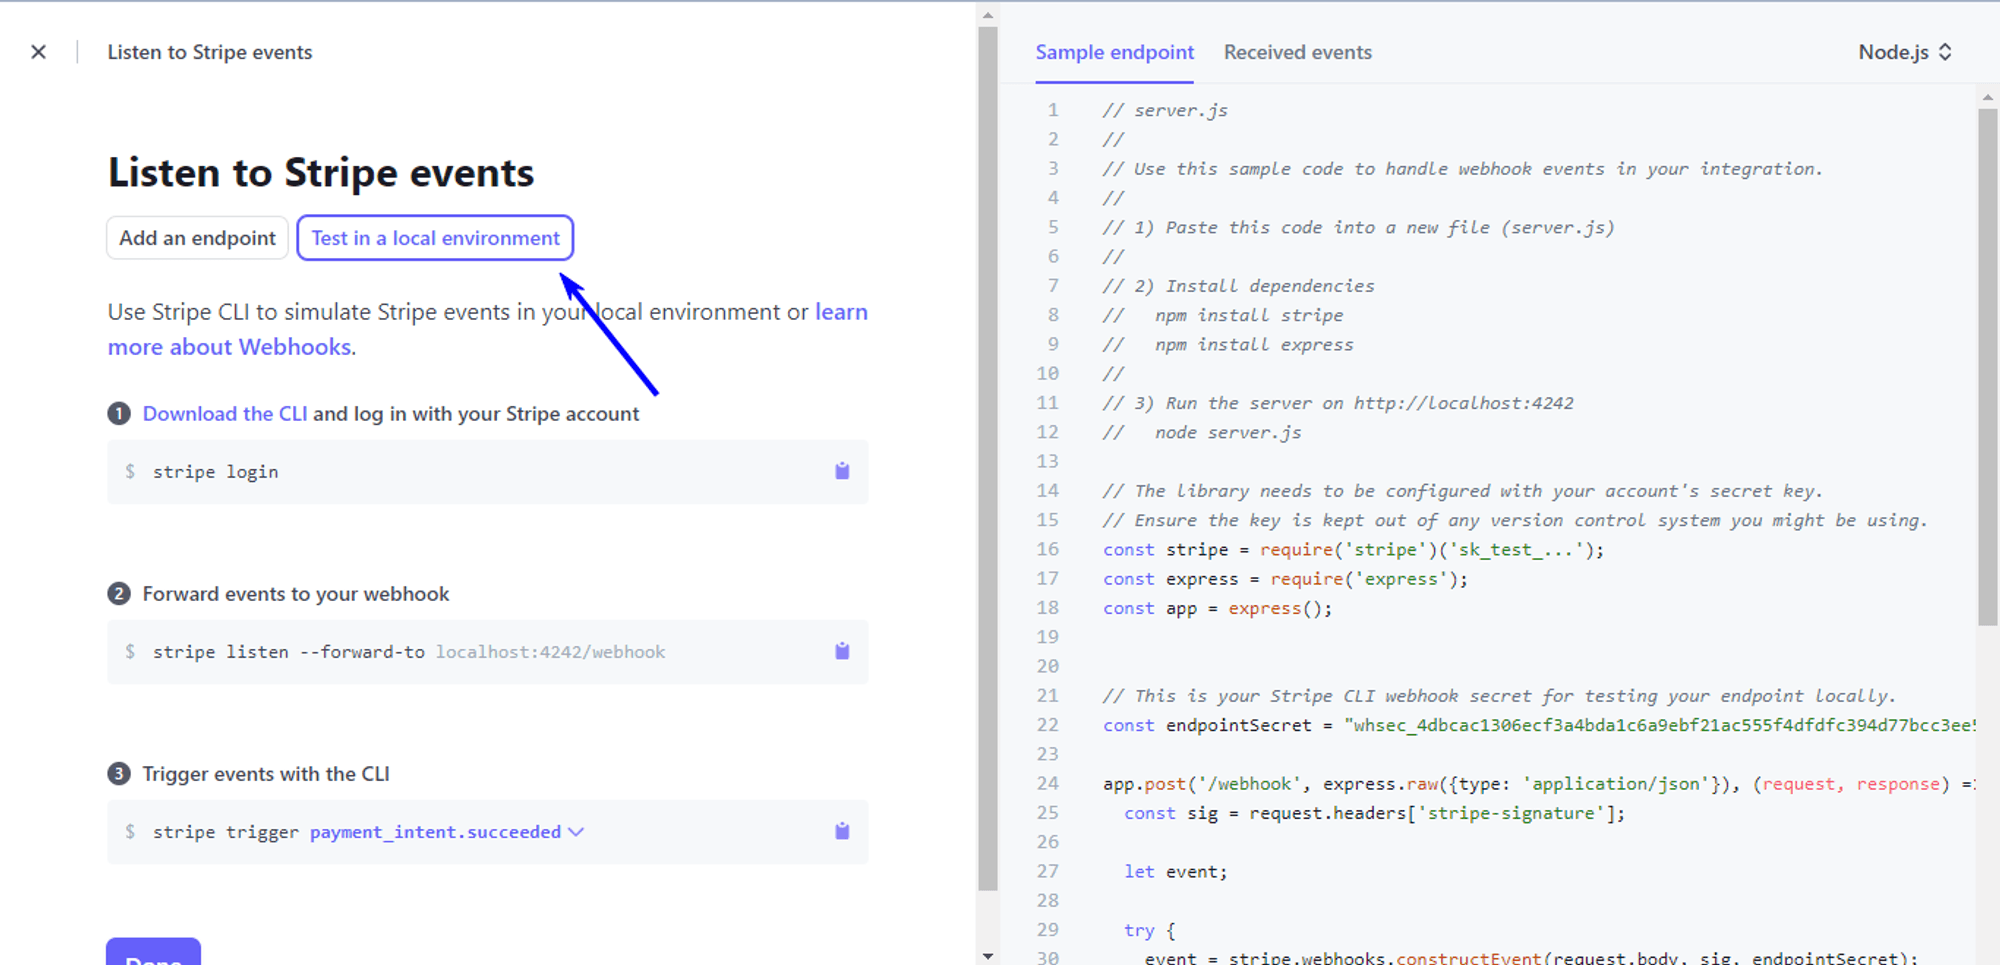
- Install Stripe CLI (opens in a new tab) and login to stripe
stripe login- Run this command to forward the event to the webhook. I’ve added this script to package.json file
npm run stripe:listen- Add the webhook secret to the env file.
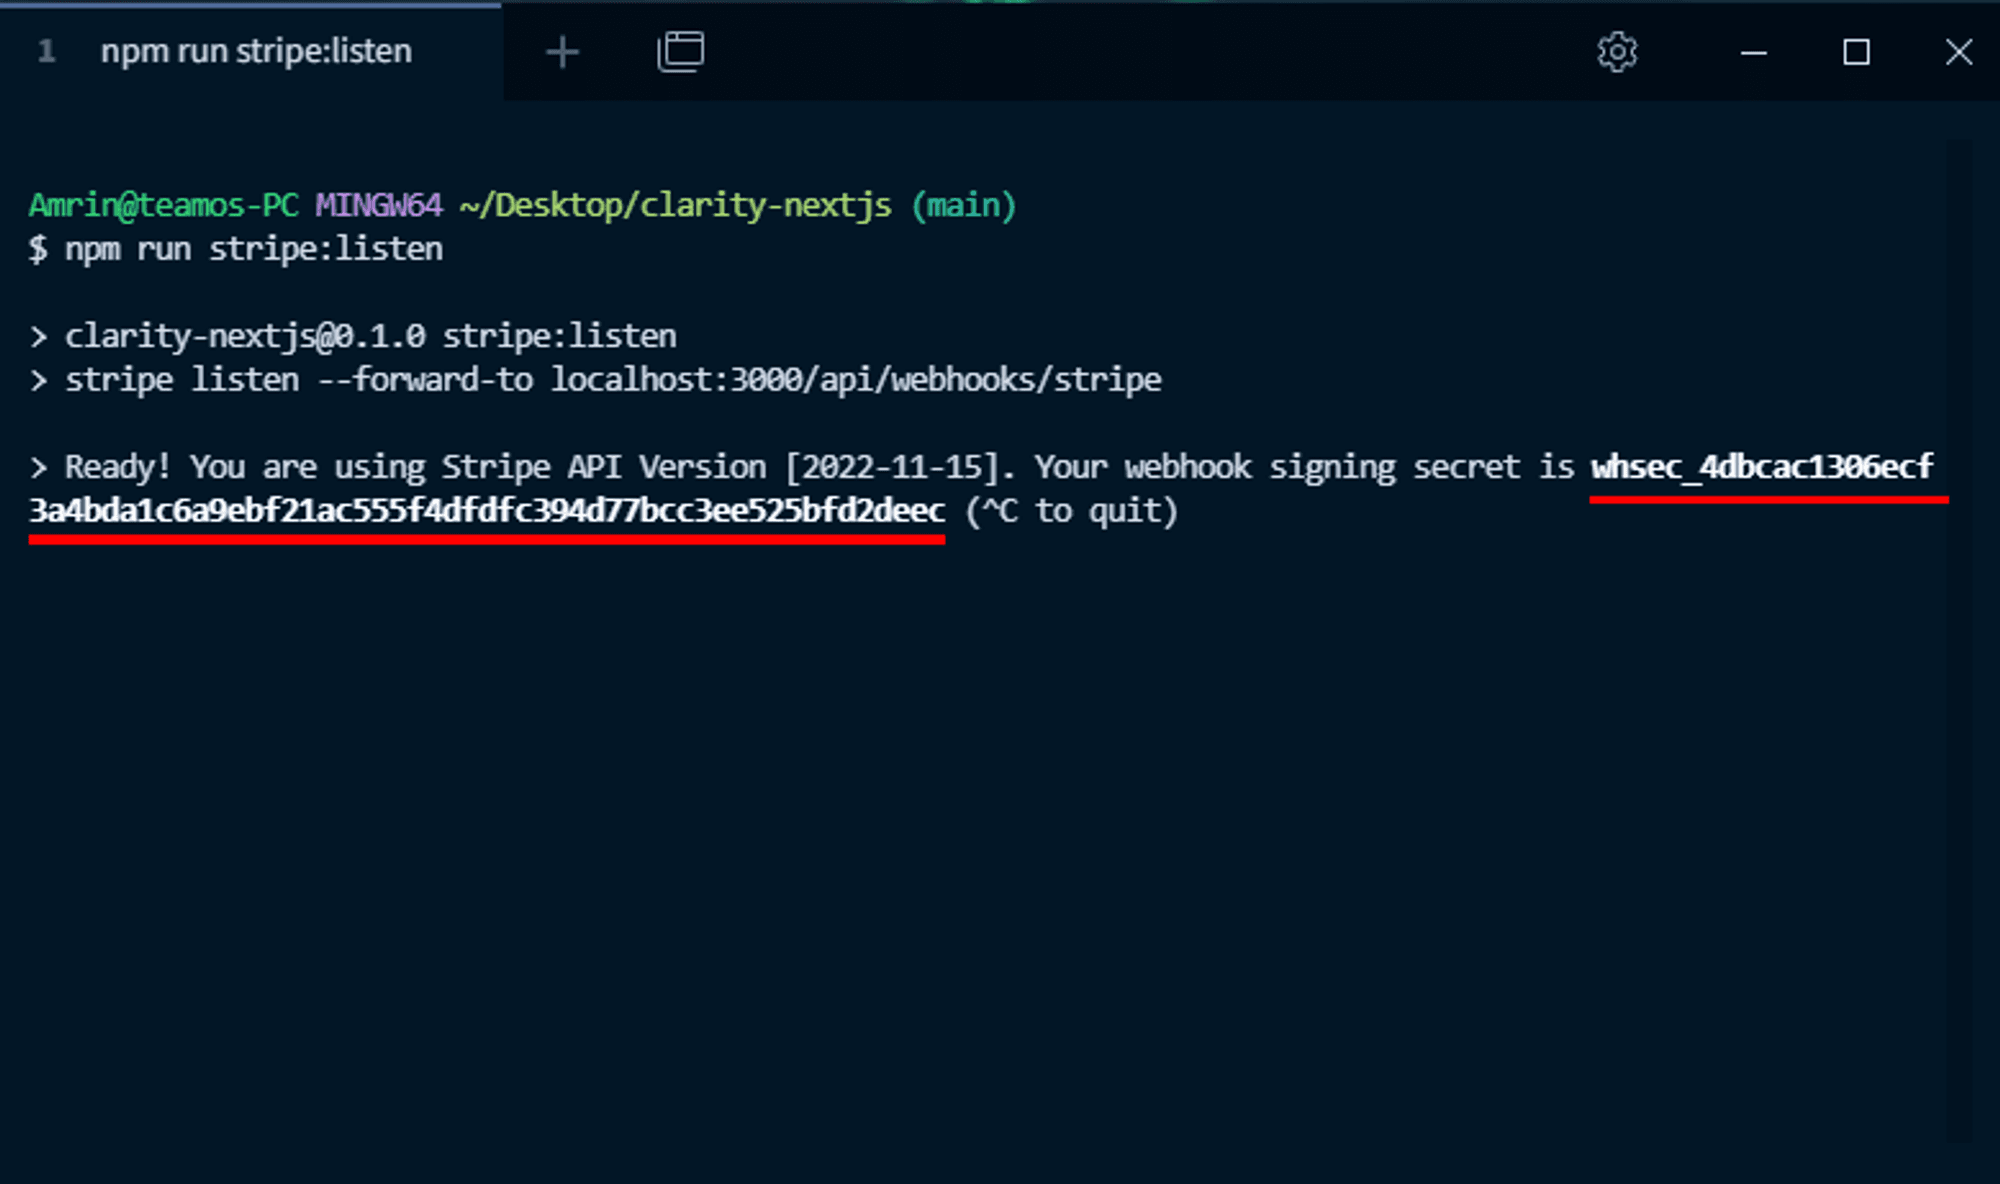
Copy it from the terminal and add it to this variable.
STRIPE_WEBHOOK_SECRET=YOUR_WEBHOOK_SECRETNow go ahead and test the subscription, it should work in your local environment.
Production Environment
In the last part, we saw how to integrate Webhook for testing locally. Now we are going to see how to integrate Stripe Webhook for a live site.
Follow these instructions to enable the webhook for your live site:
- Go to the Webhooks tab under the Developers tab.
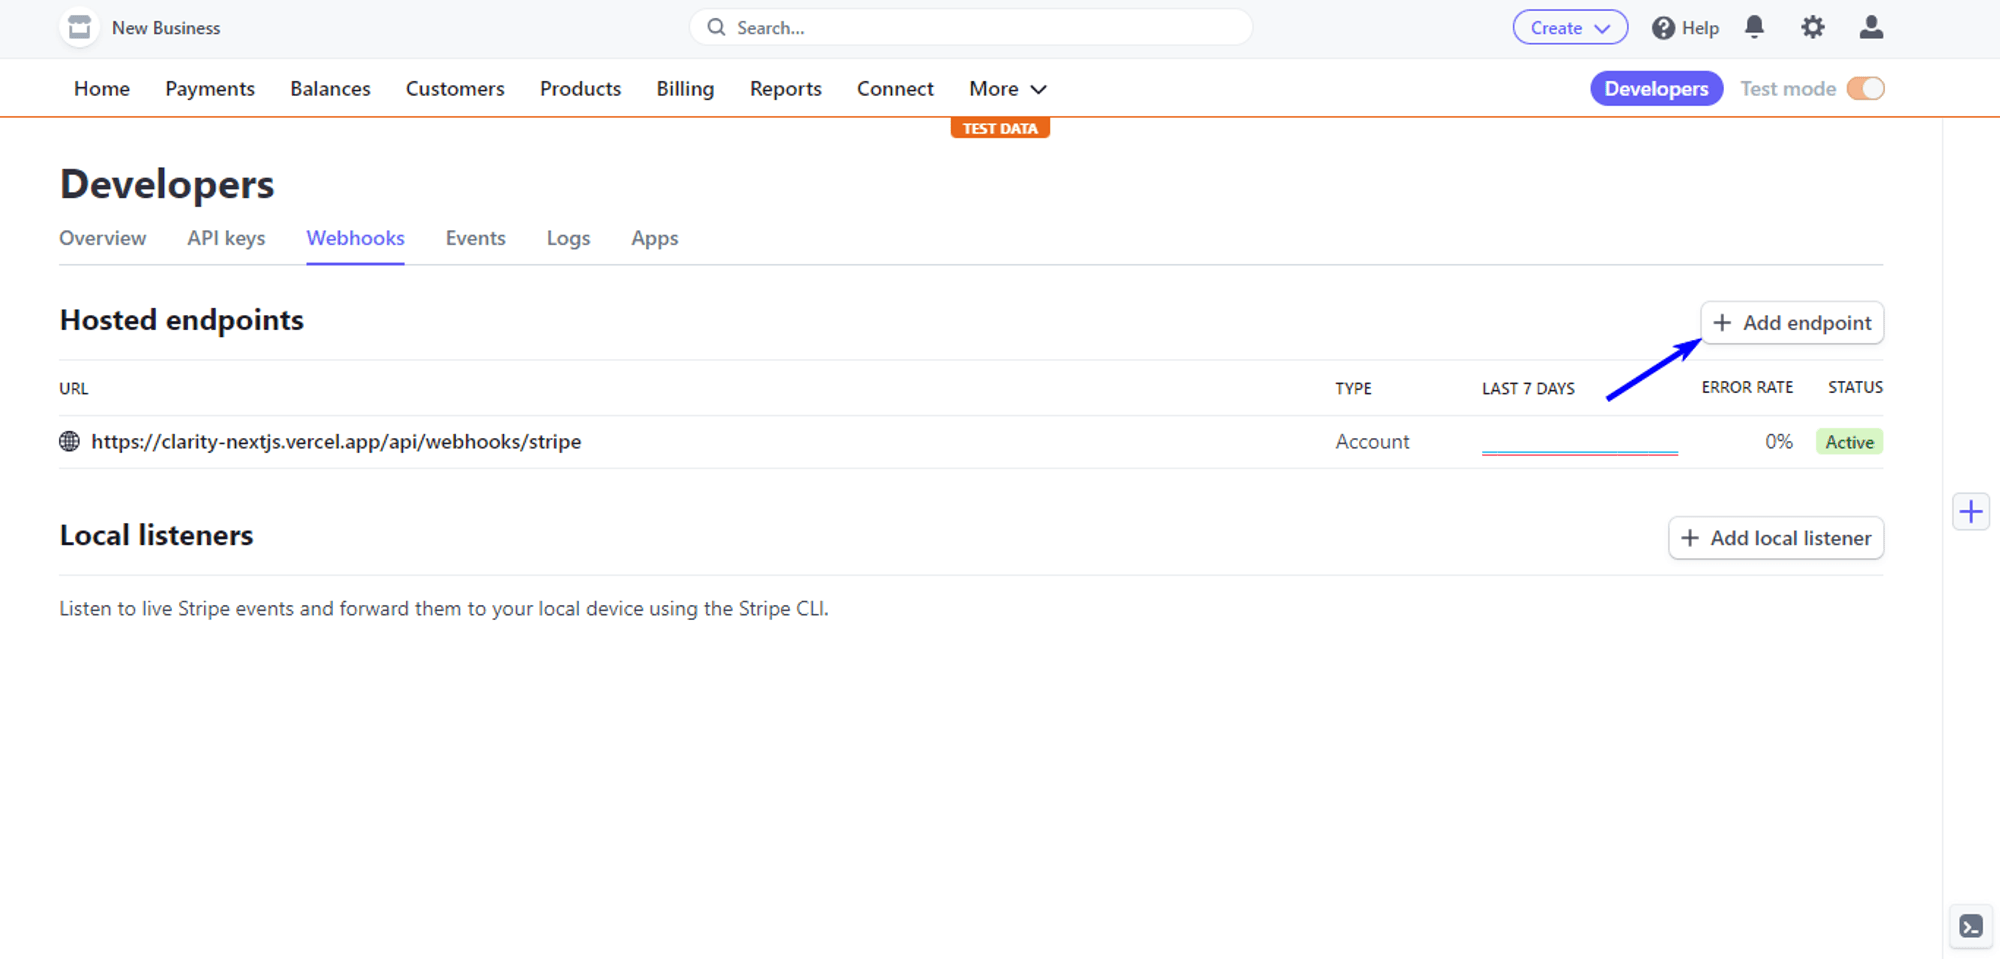
- Now add your site URL here:
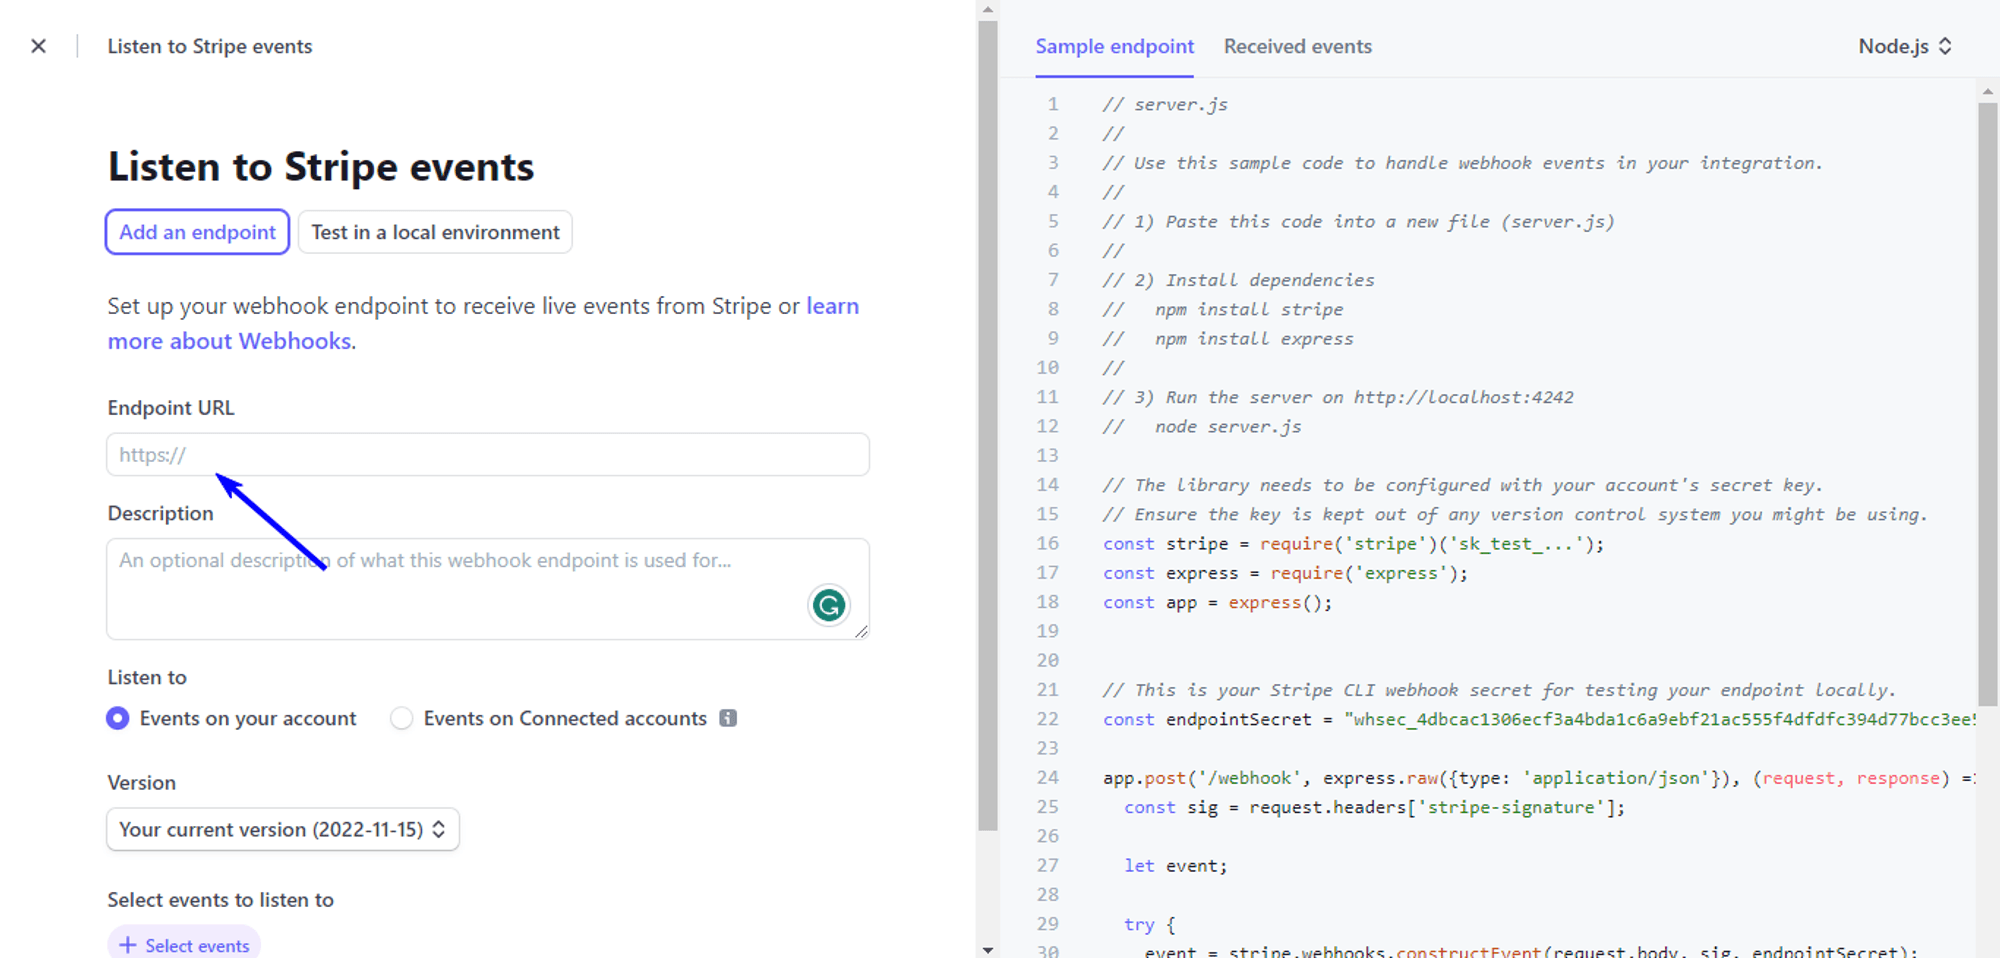
Note: your live site URL is not just the root URL. It must follow this pattern: yoursite.com/api/webhooks/stripe
- Select the Latest API version from this drop-down menu.
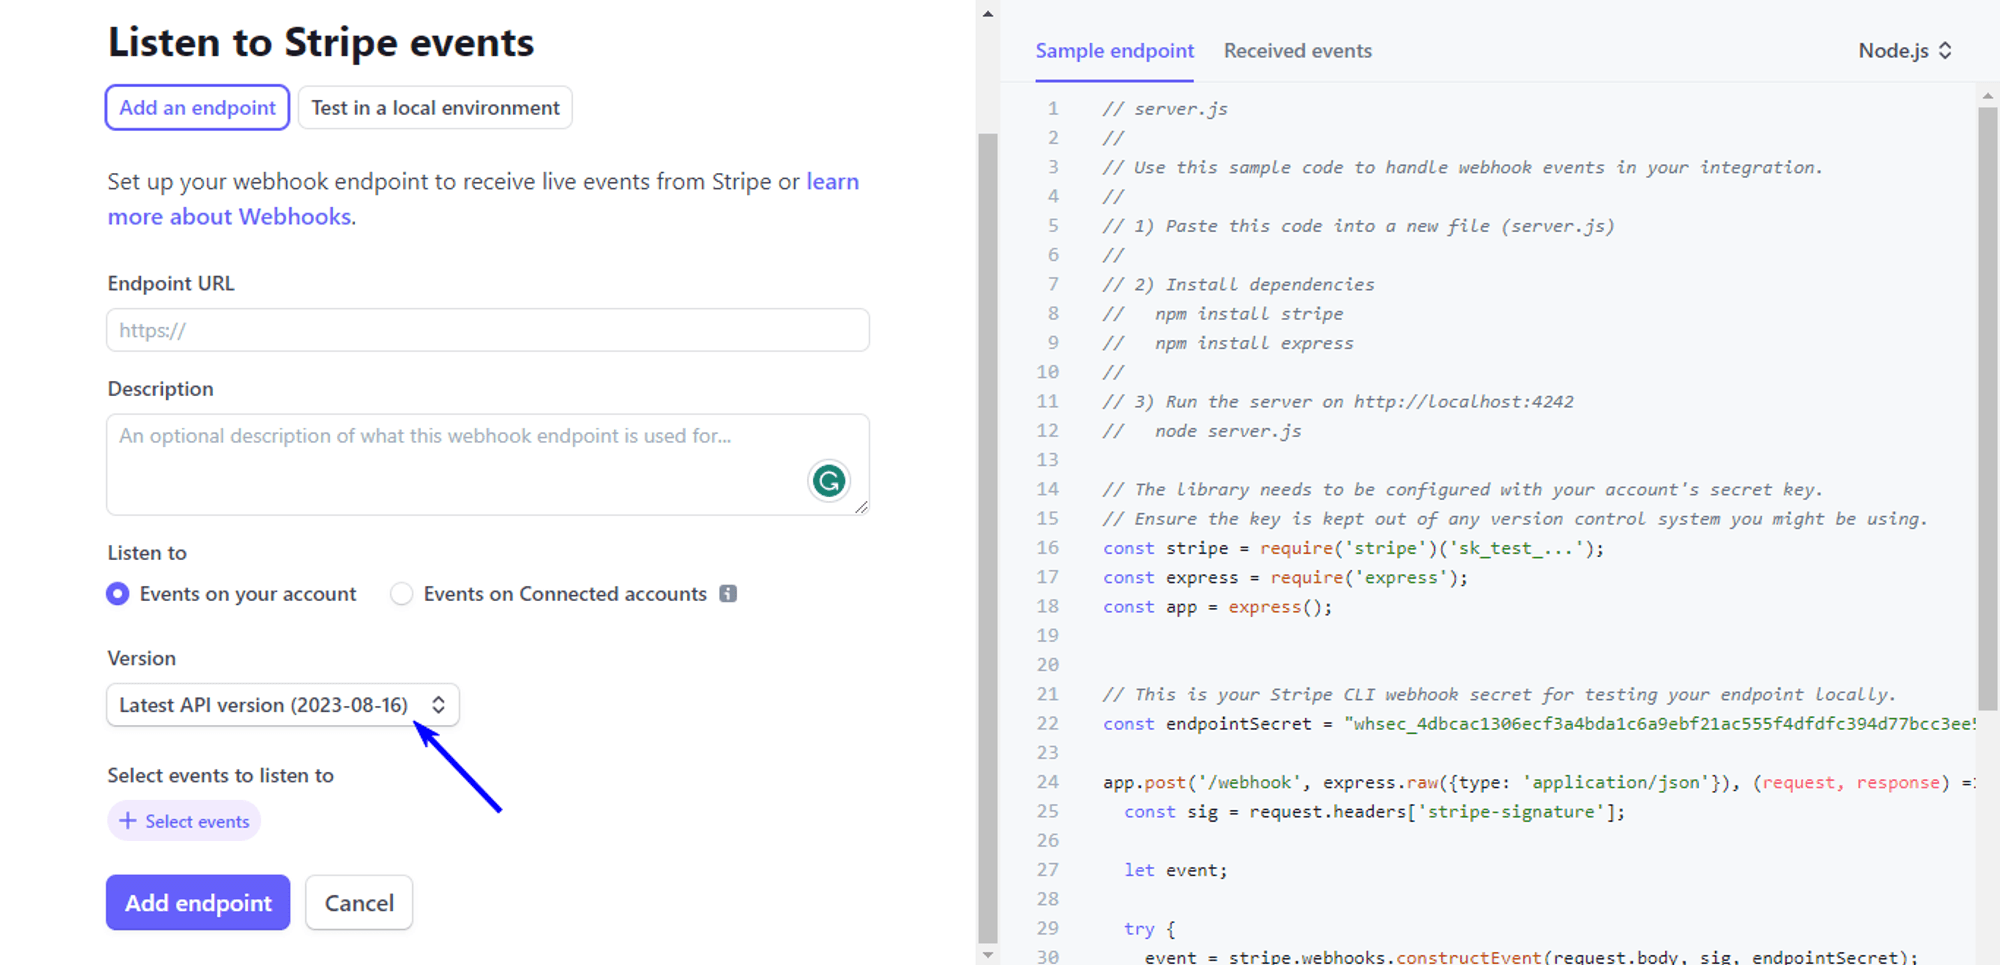
- Now click on the Select Events button.
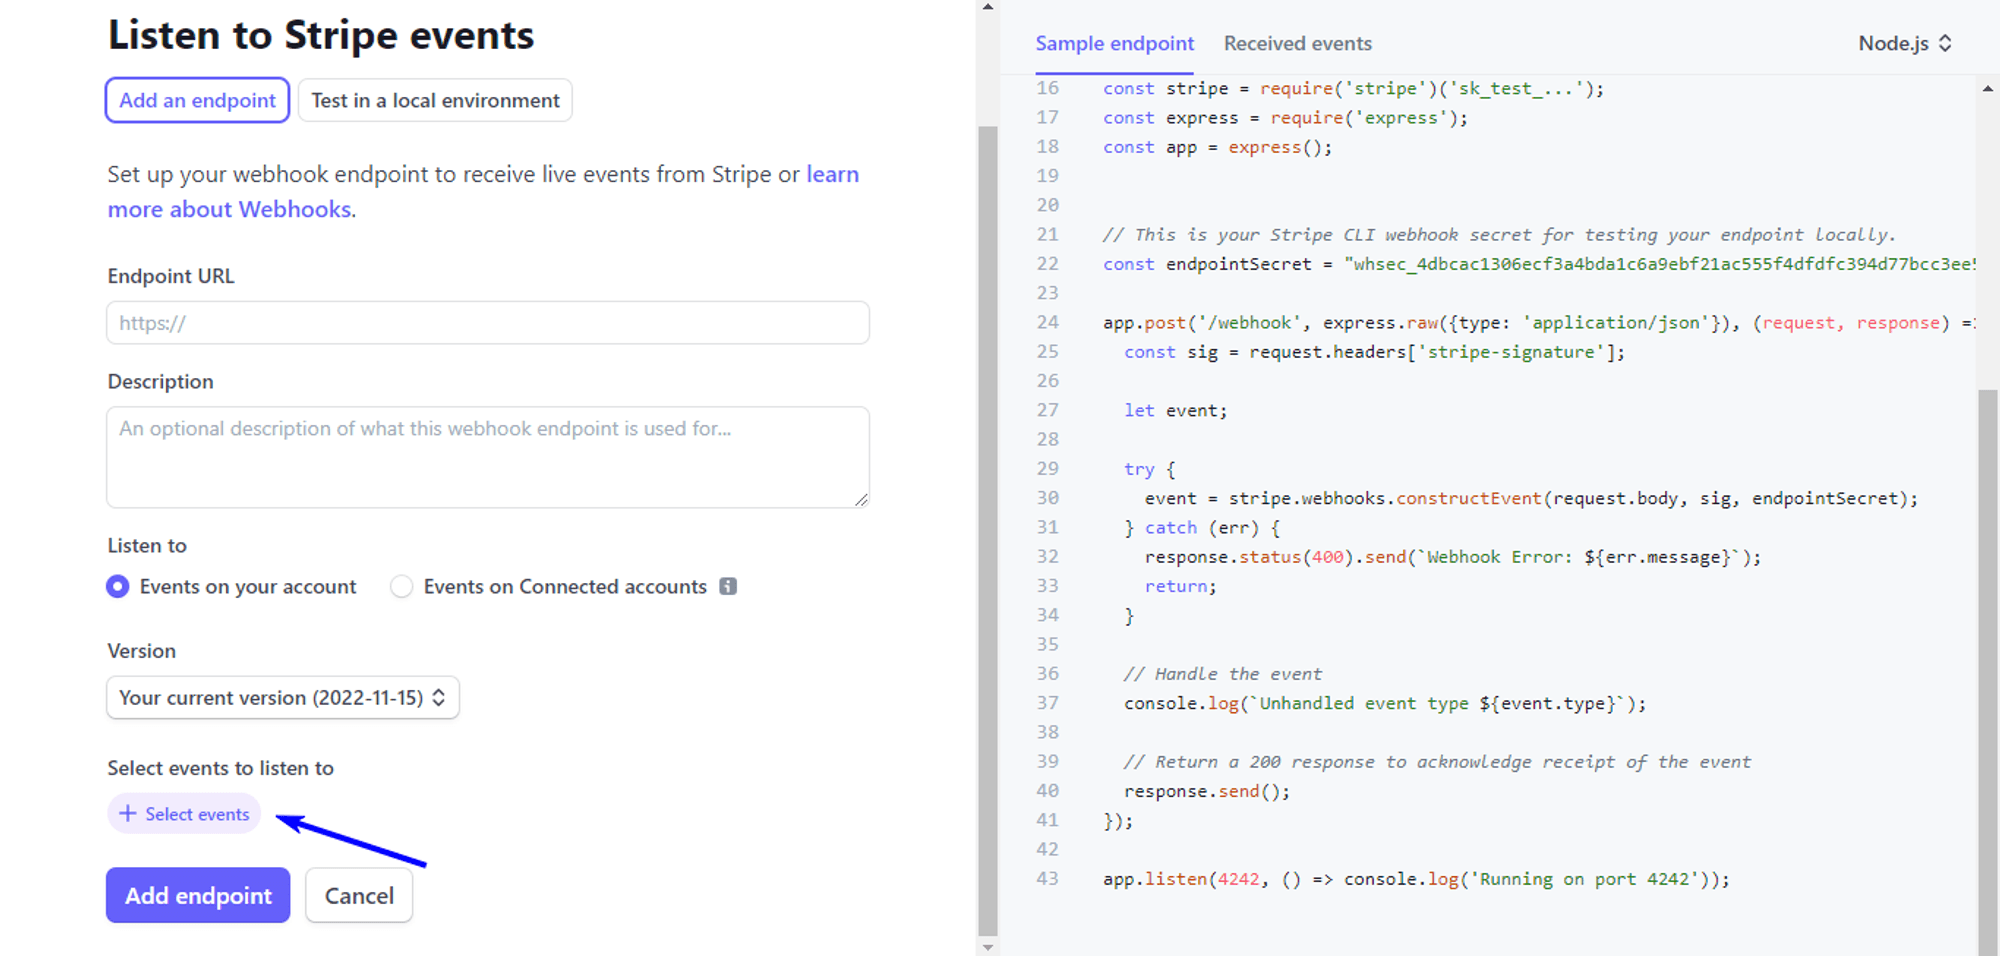
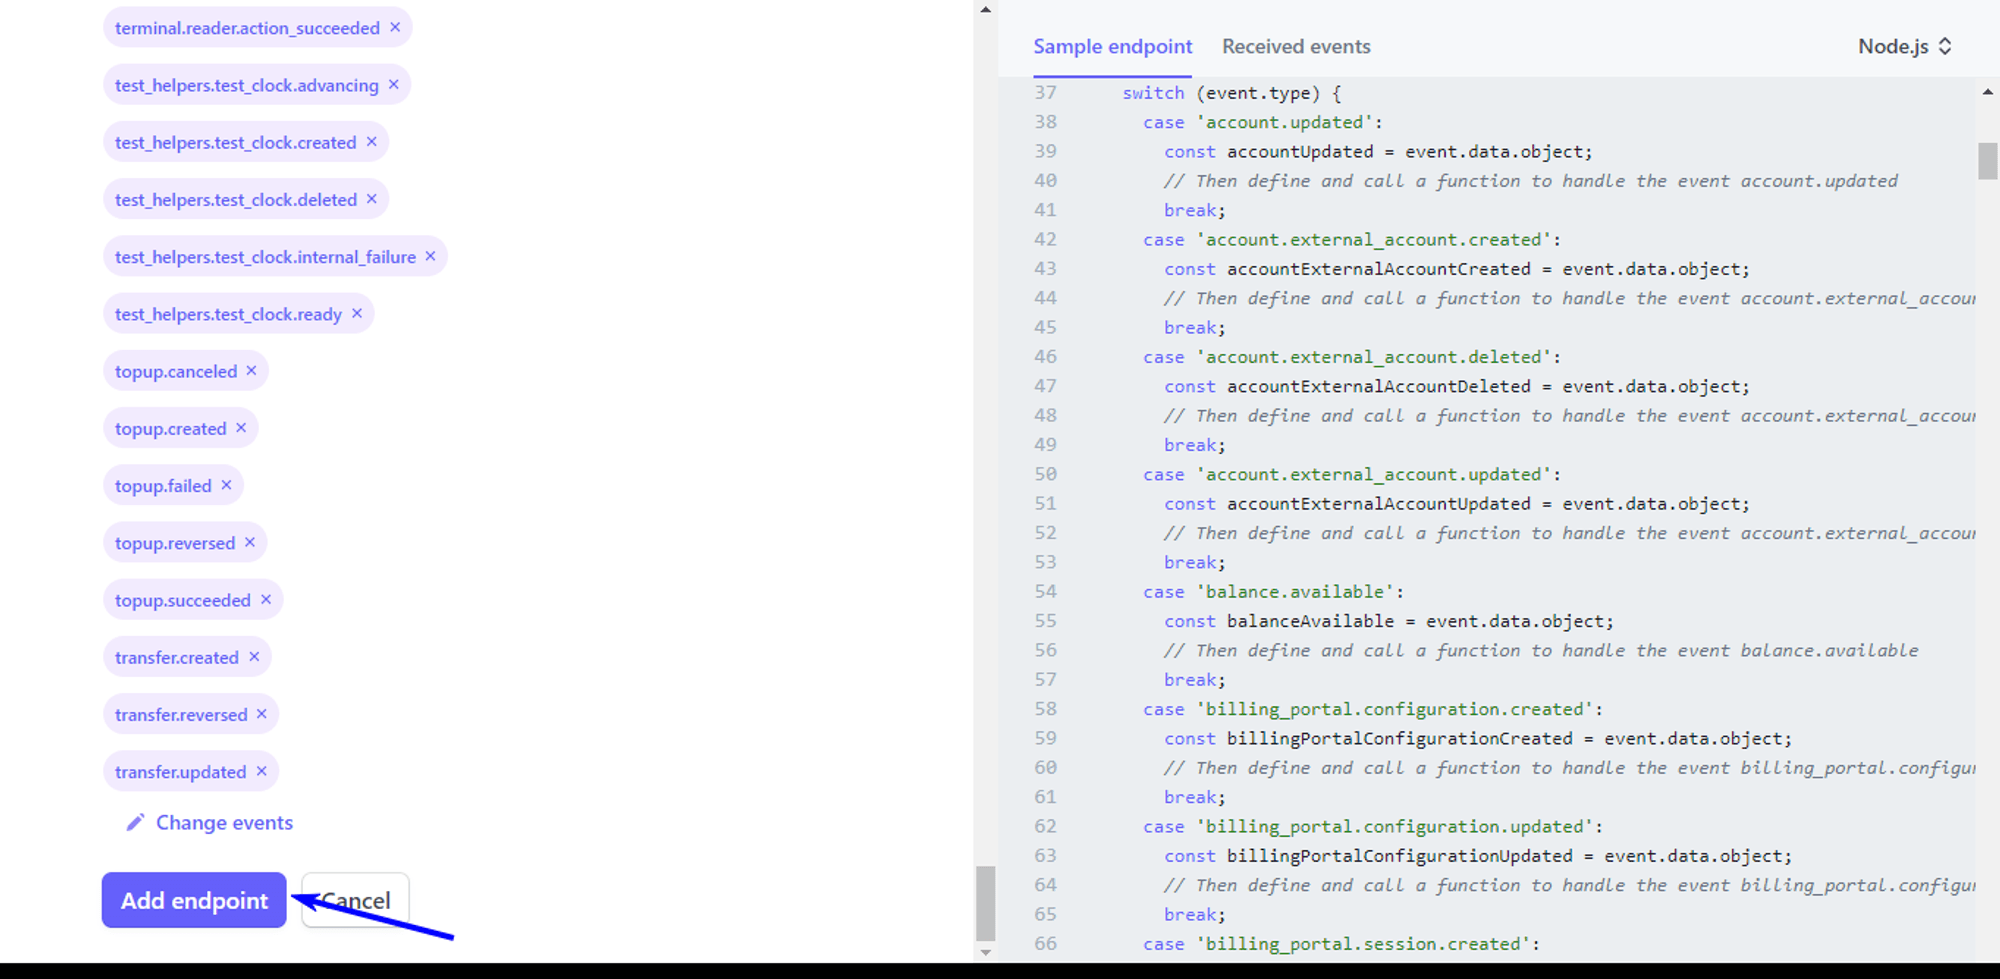
Once you click on the button, you’ll see something like this. Now check the Select all events box. Click the Add Events button.

- Now click on the Add endpoint button.
We are almost done. One last thing we have to do is get the Webhook secret for the live site and add that to the .env file.
After you’ve added the endpoint you’ll see something like this. Click on the URL.
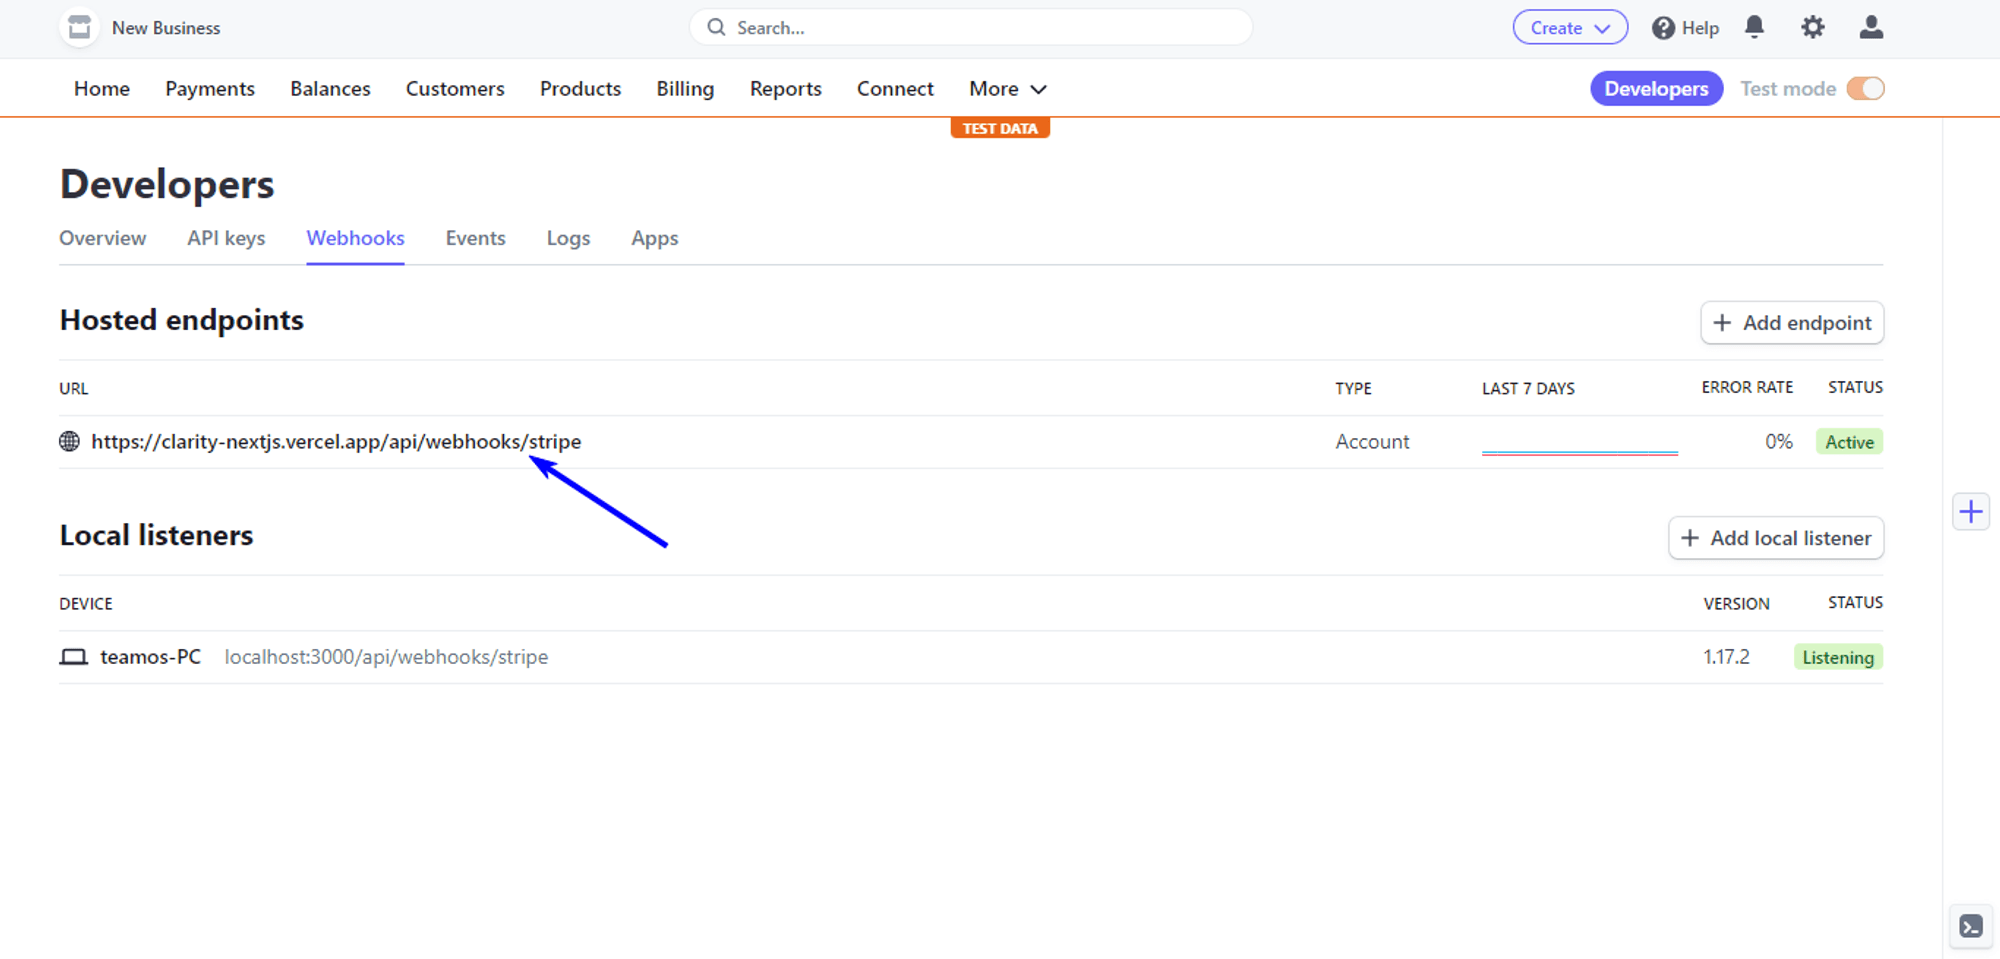
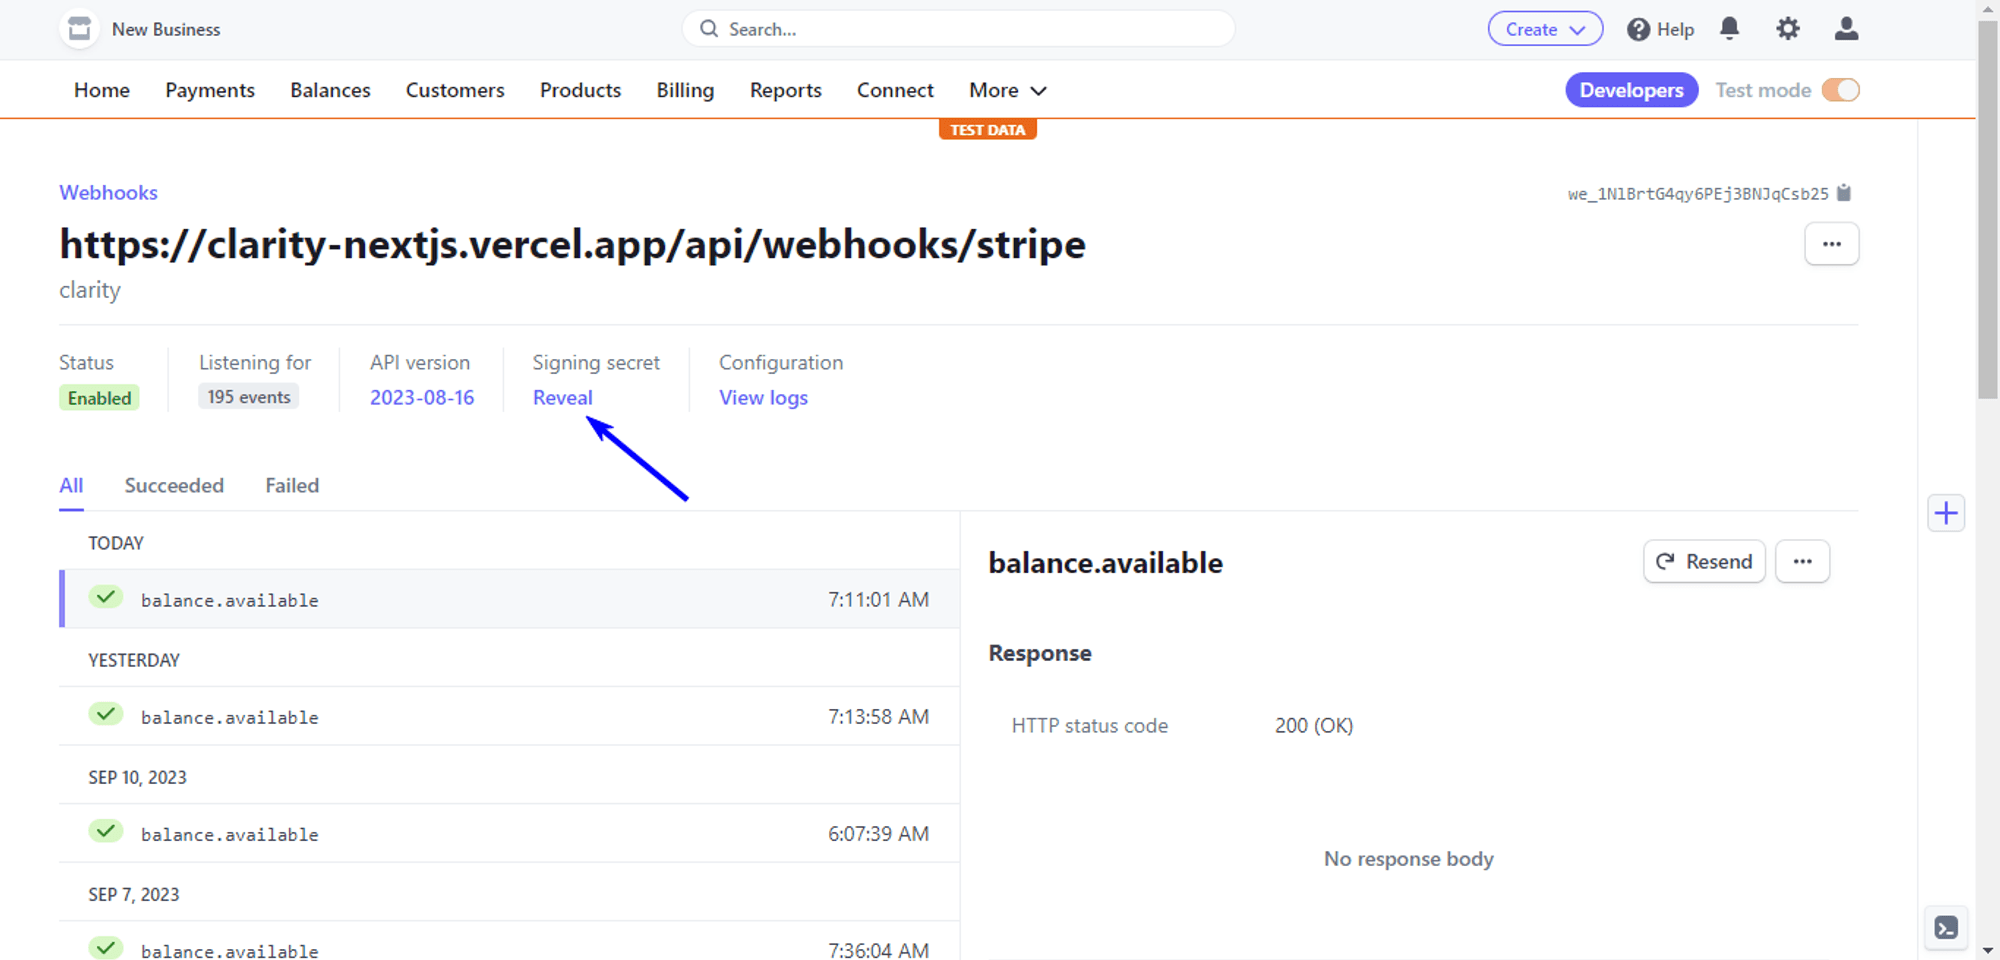
Click Reveal, you’ll see the secret key there. Copy the key and add that to your live site's .env file.
When all these are done, Then you can start the project on the local server
npm run devIt’ll start the template on localhost:3000.