Customizing Next.js Templates or Websites
We'll guide you through the exciting process of customizing your Next.js website or template! We'll show you how to personalize your Next.js website, ensuring it reflects your unique style and vision.
If you want to use the template you can’t just use them as they are. You’ll have to customize them to add your content.
Here’s how you can do that.
Note: we assume you’ve already downloaded the template and opened it on your code editor.
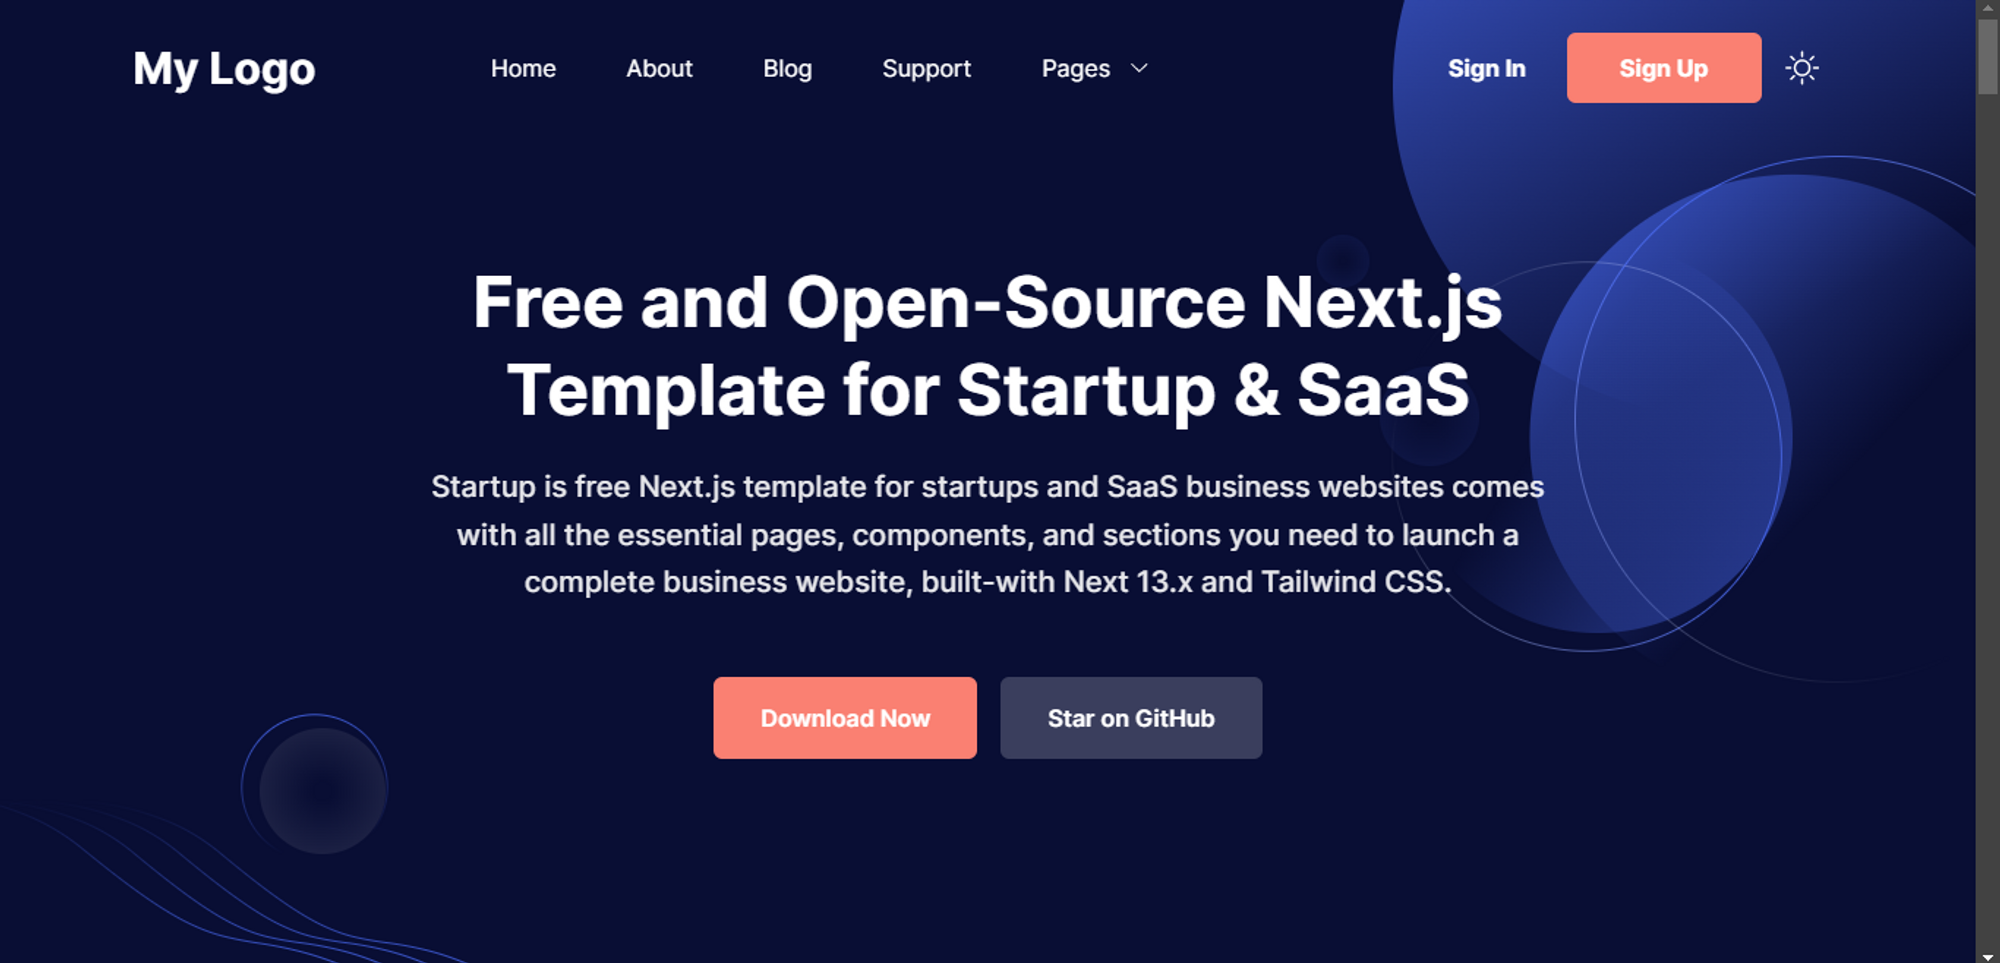
Changing The Logo
Every template comes with a default Logo. But, you have to add your own Logo to the template.
Here’s how you can change the logo.
Open up the template in the code editor. After that open up the header from the Components folder.
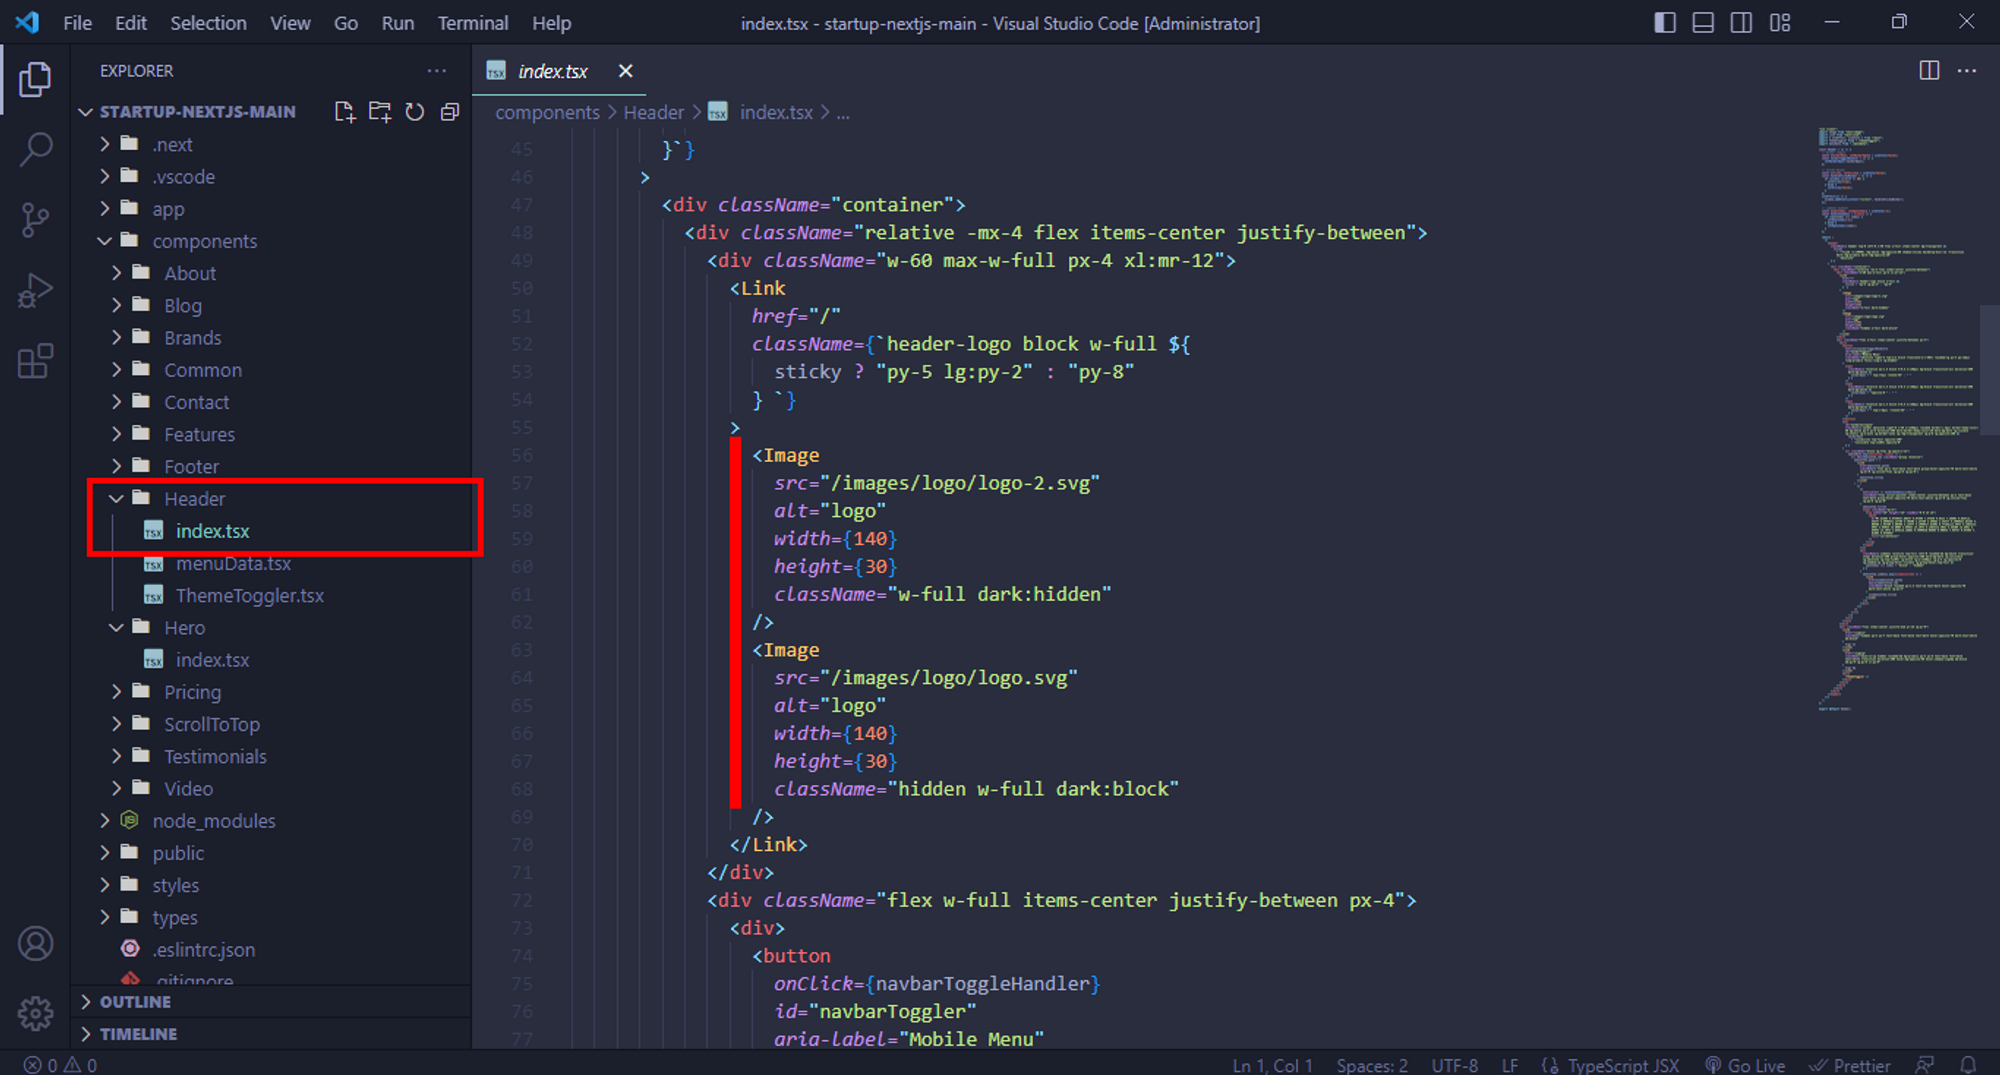
Now change the Logo images with your Logo.
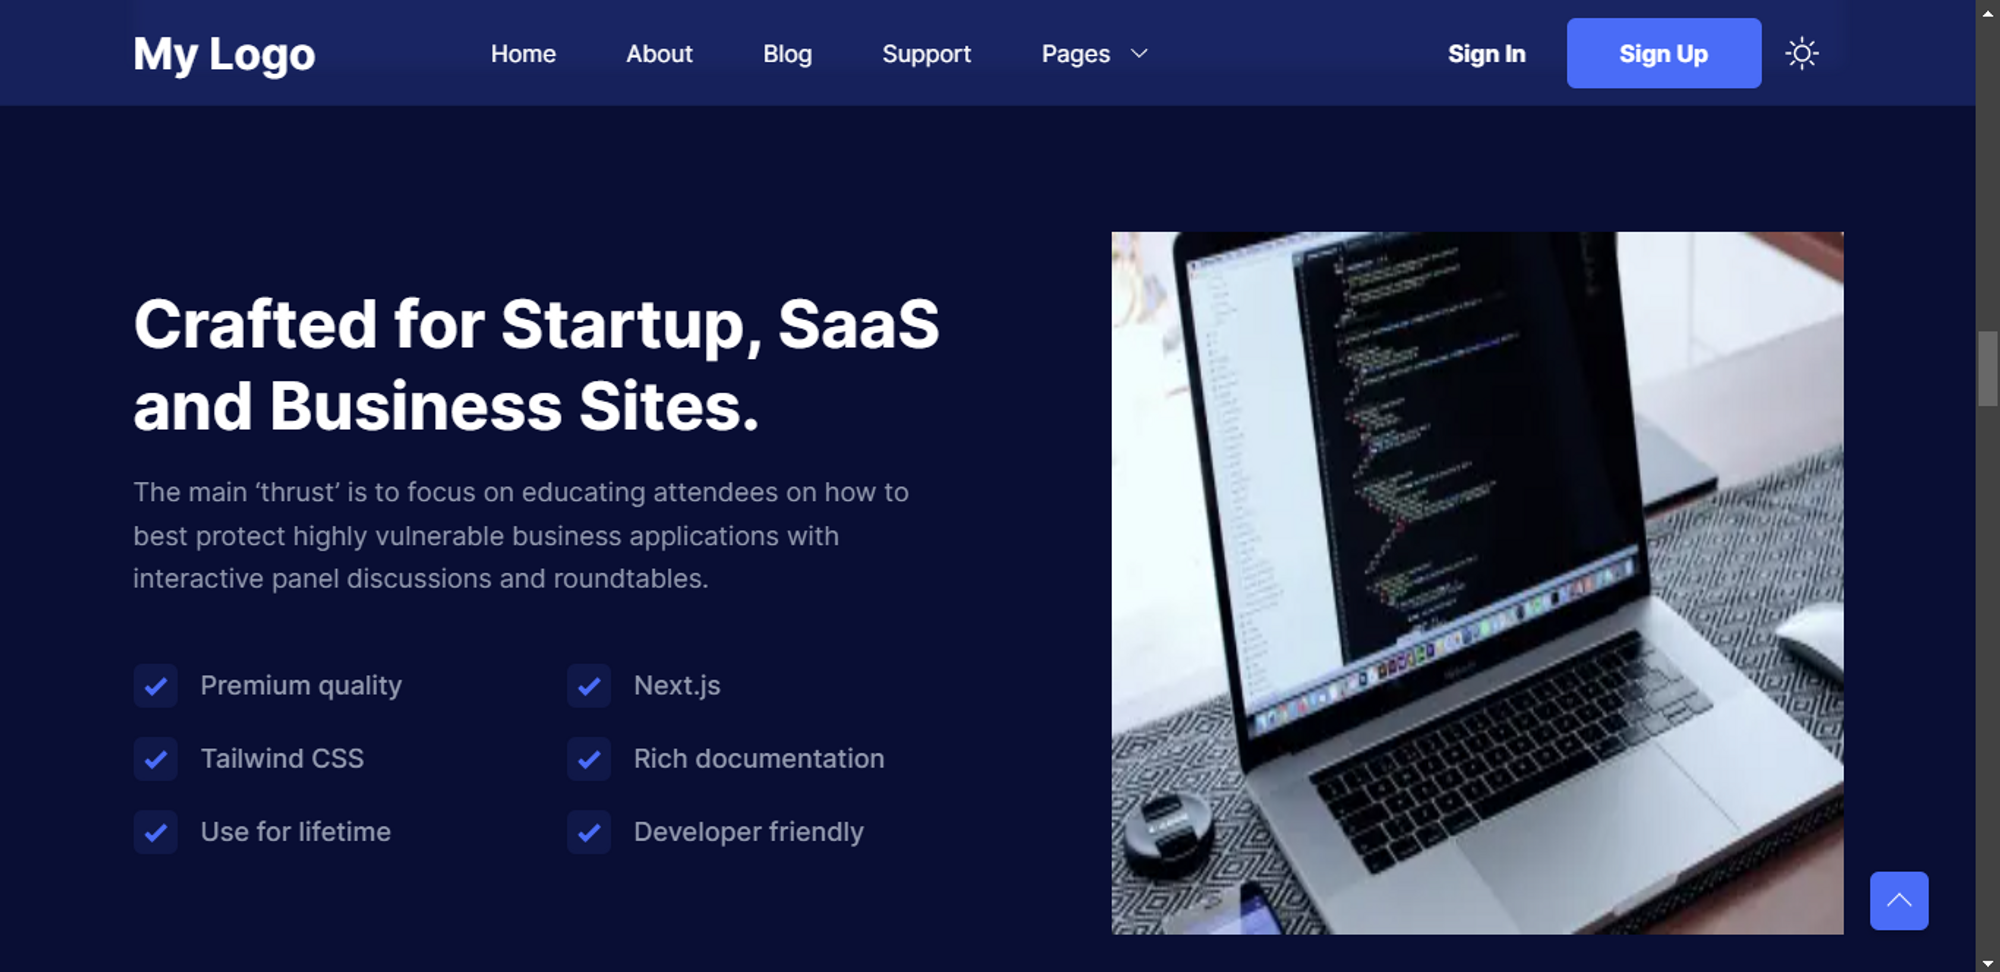
Here’s how it looks after we’ve changed the Logo image with a simple text.
Customizing Texts
To change the texts open up the template in your code editor.
Now open up the component you want to change the texts of.
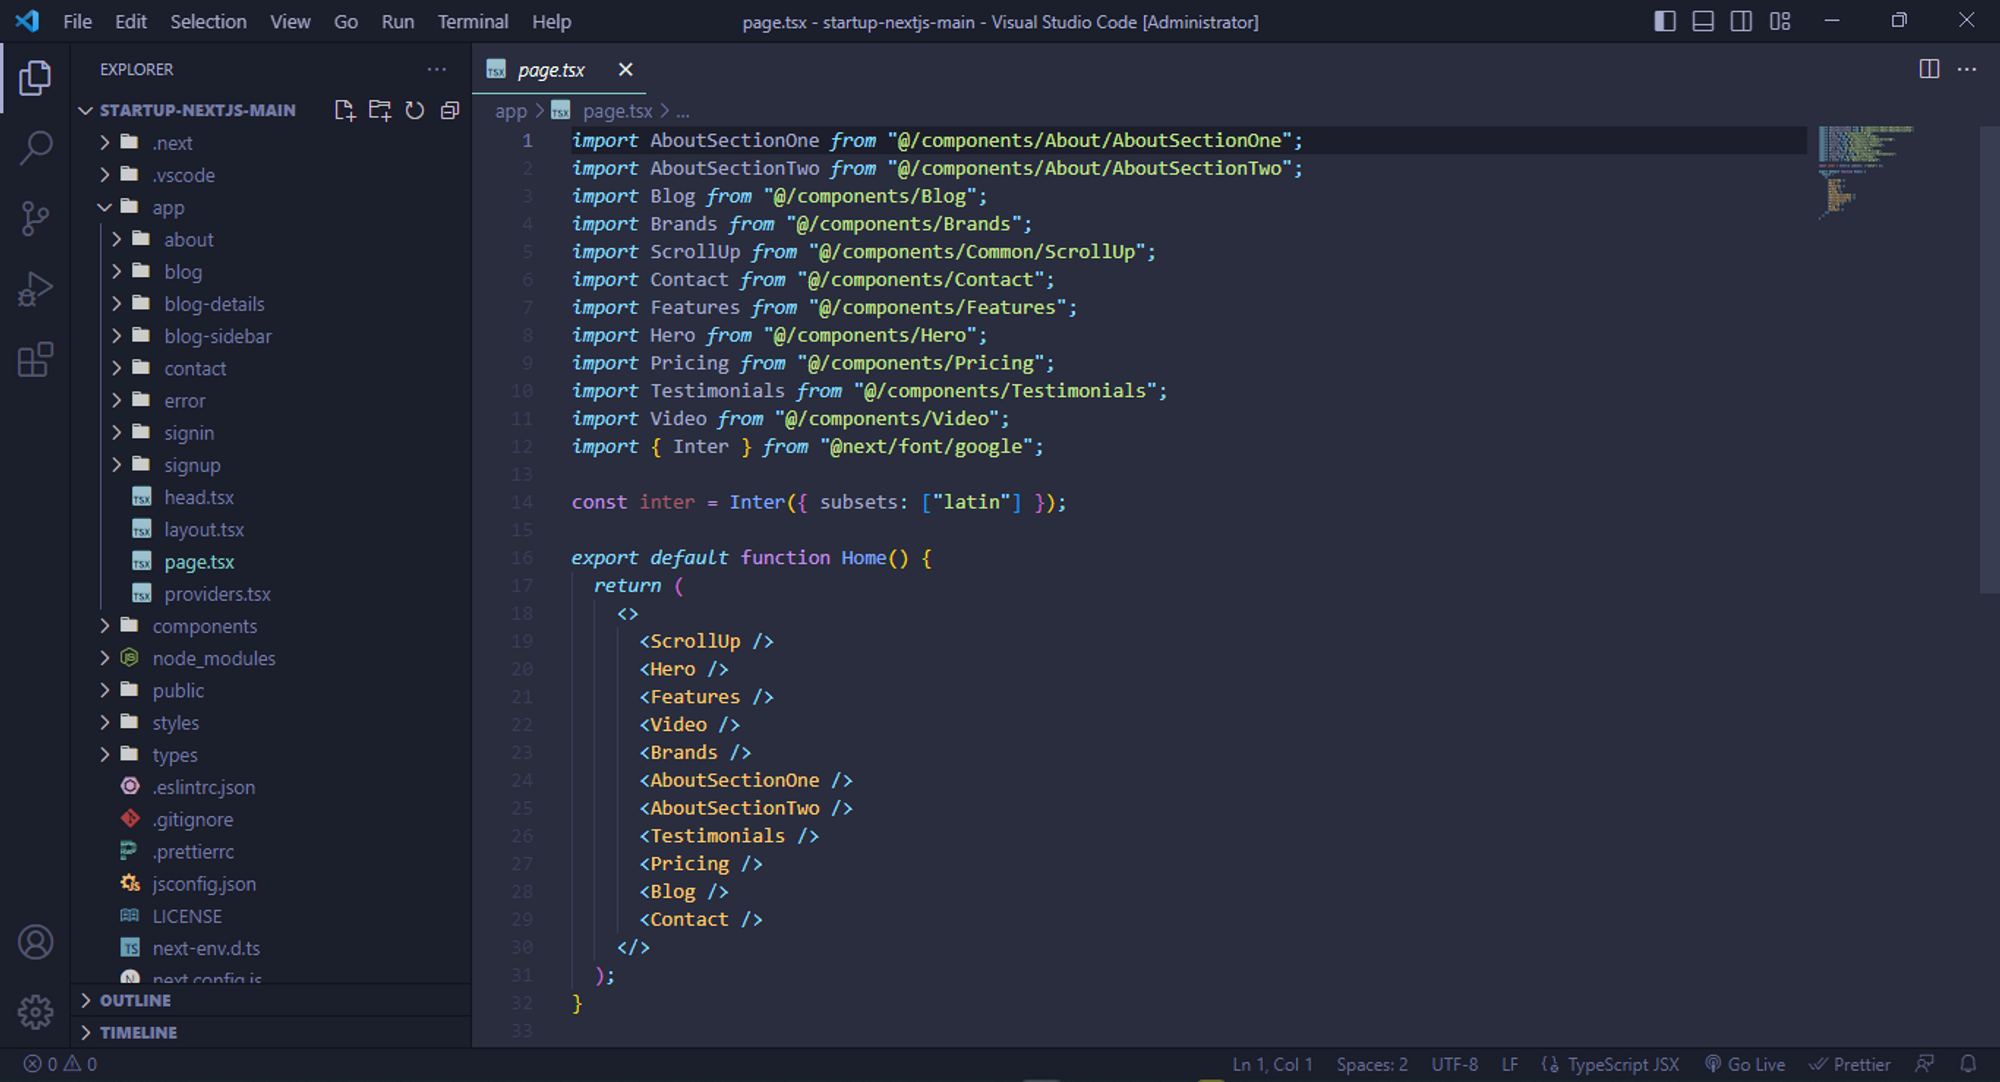
We are going to change the Hero texts here.
So, we’ll open up the Hero component from the Components folder.

Here’s how it looks after we’ve changed the texts. This way you can remove all the default texts from this template and add your own text.

Customizing Images
We’ve seen how to change the logo and texts let’s see how you can change the images.
Open up the Component you want to change the image from.
We are going to change the About component’s image.

After we’ve made the changes here’s how it looks.
Customizing Colors
We’ve seen how to customize the logo, texts, and images, now let’s see how to customize the colors.
To customize the colors open up the tailwind.config.js file
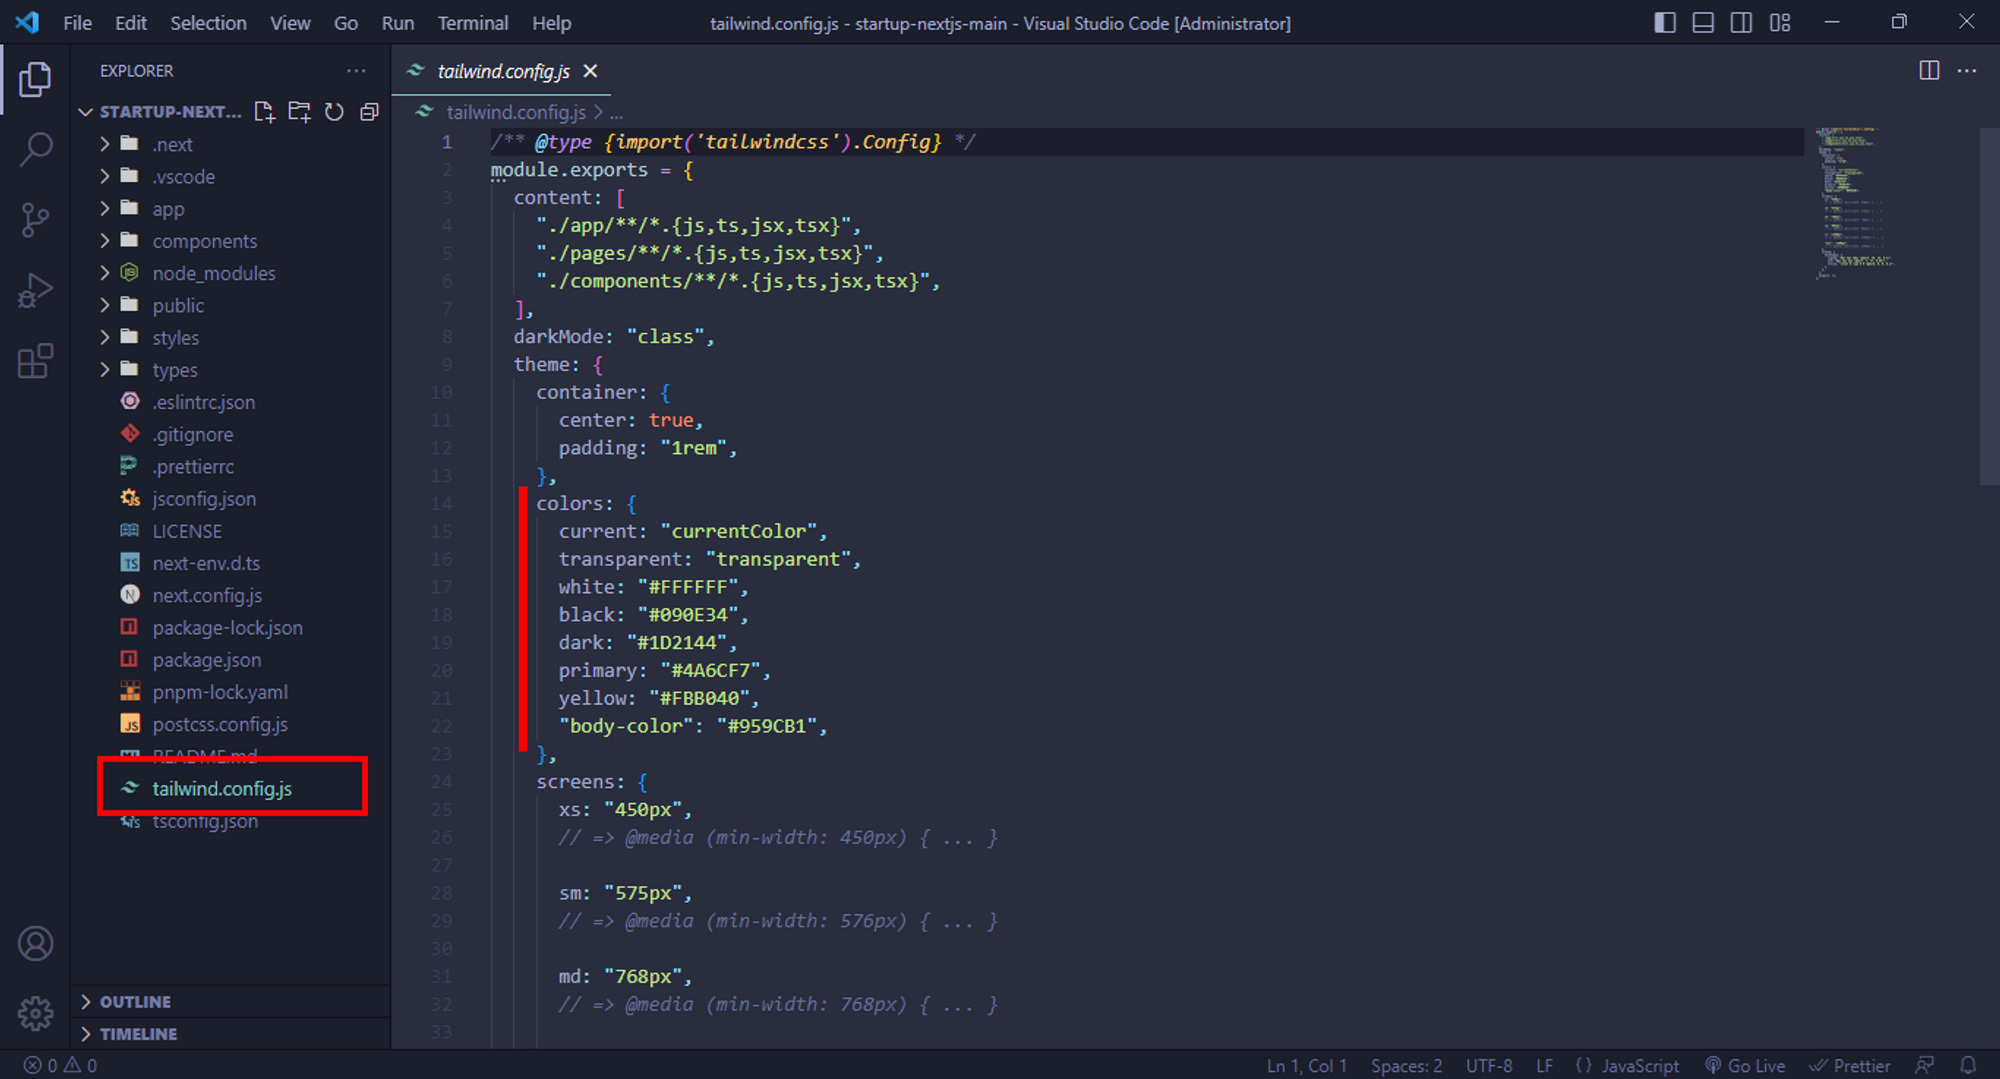
You can change all the colors from here.
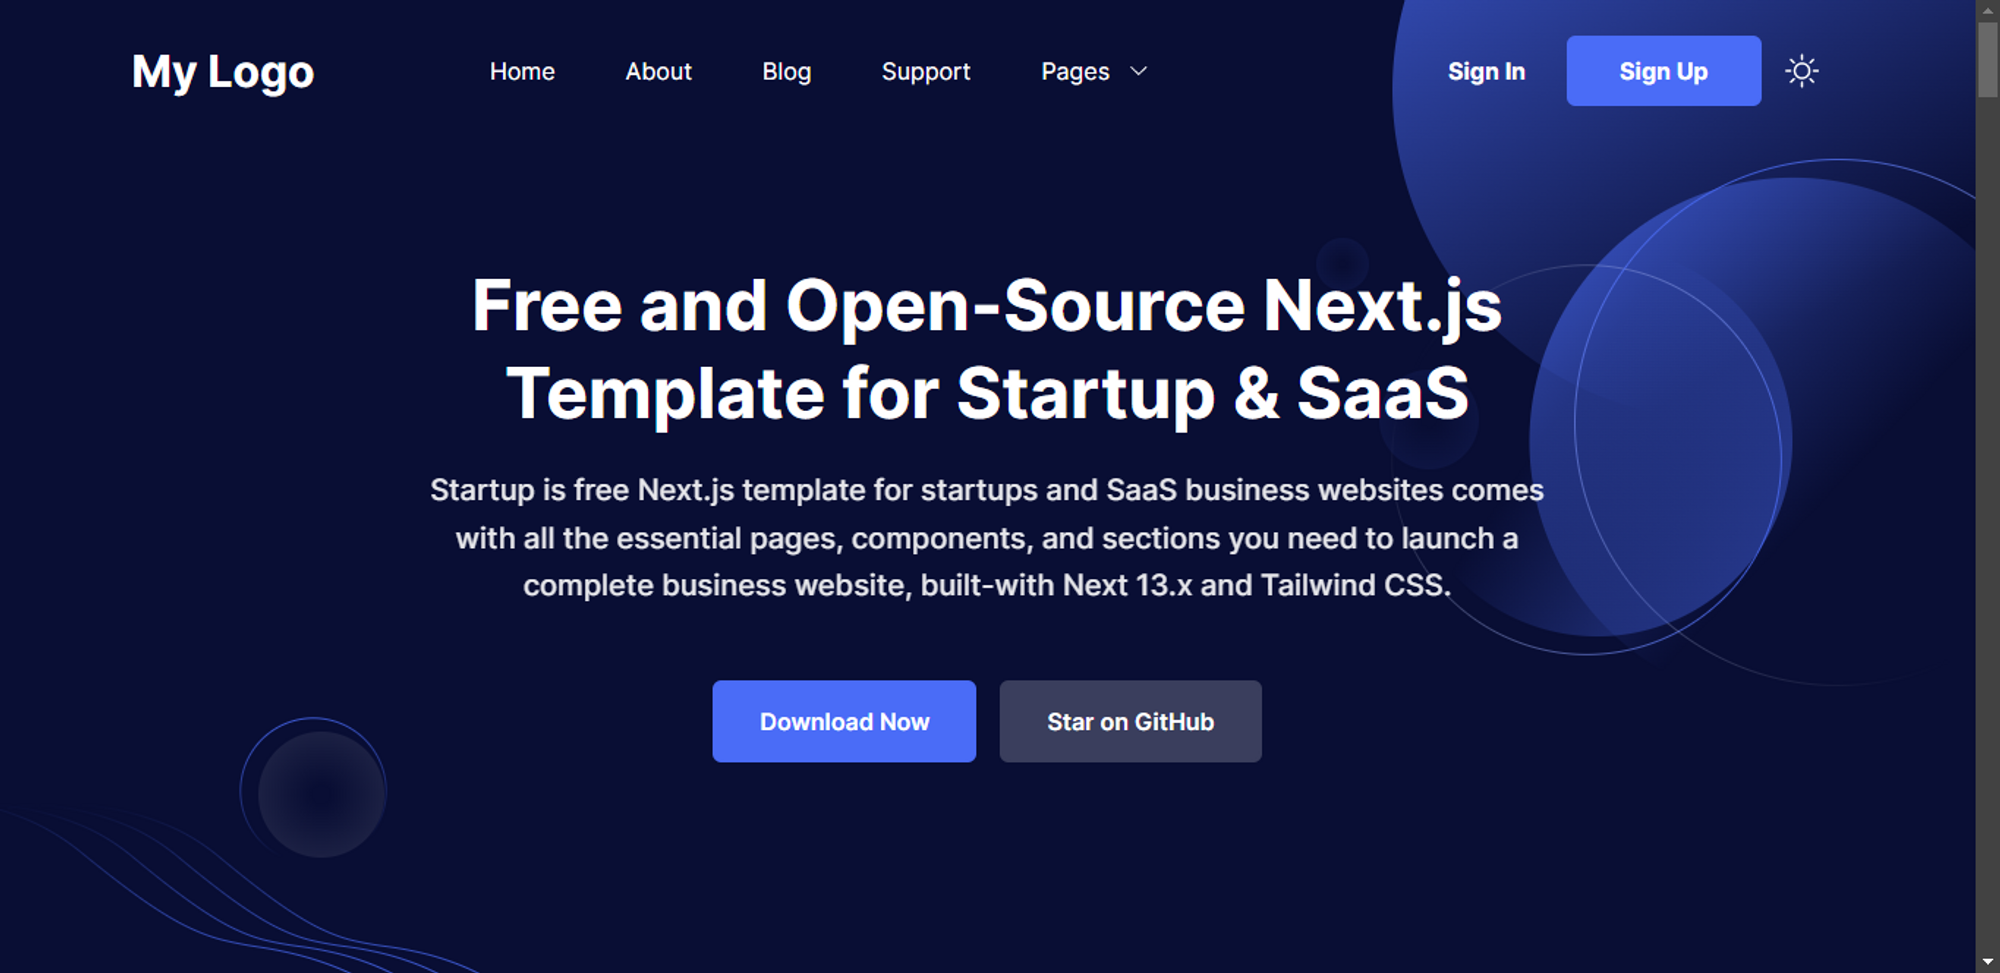
We are going to change the primary color to Salmon.
Here’s how it looks after the changes.