Deploying a Next.js Boilerplate Templates
This guide walks you through deploying a Next.js boilerplate template to Vercel, a platform optimized for Next.js applications. Vercel offers a seamless deployment process with automatic scaling, domain management, and a free tier for small projects.
Prerequisites
- A Next.js boilerplate template (e.g., downloaded from your account or a GitHub repository).
- A Vercel account (free tier is sufficient).
- Git installed on your machine.
- A GitHub, GitLab, or Bitbucket account to host your repository.
Step 1: Set Up Your Next.js App
- Clone or Download the Boilerplate
Download and unzip the boilerplate from your Next.js Templates Account.
or If your boilerplate is on GitHub, clone it:
git clone <repository-url>
cd <project-folder>-
Install Dependencies
Navigate to the project folder and install dependencies:npm installOr, if using Yarn:
yarn install -
Run Locally to Test
Start the development server to ensure the boilerplate works:npm run devOpen
localhost:3000in your browser to verify the app loads correctly.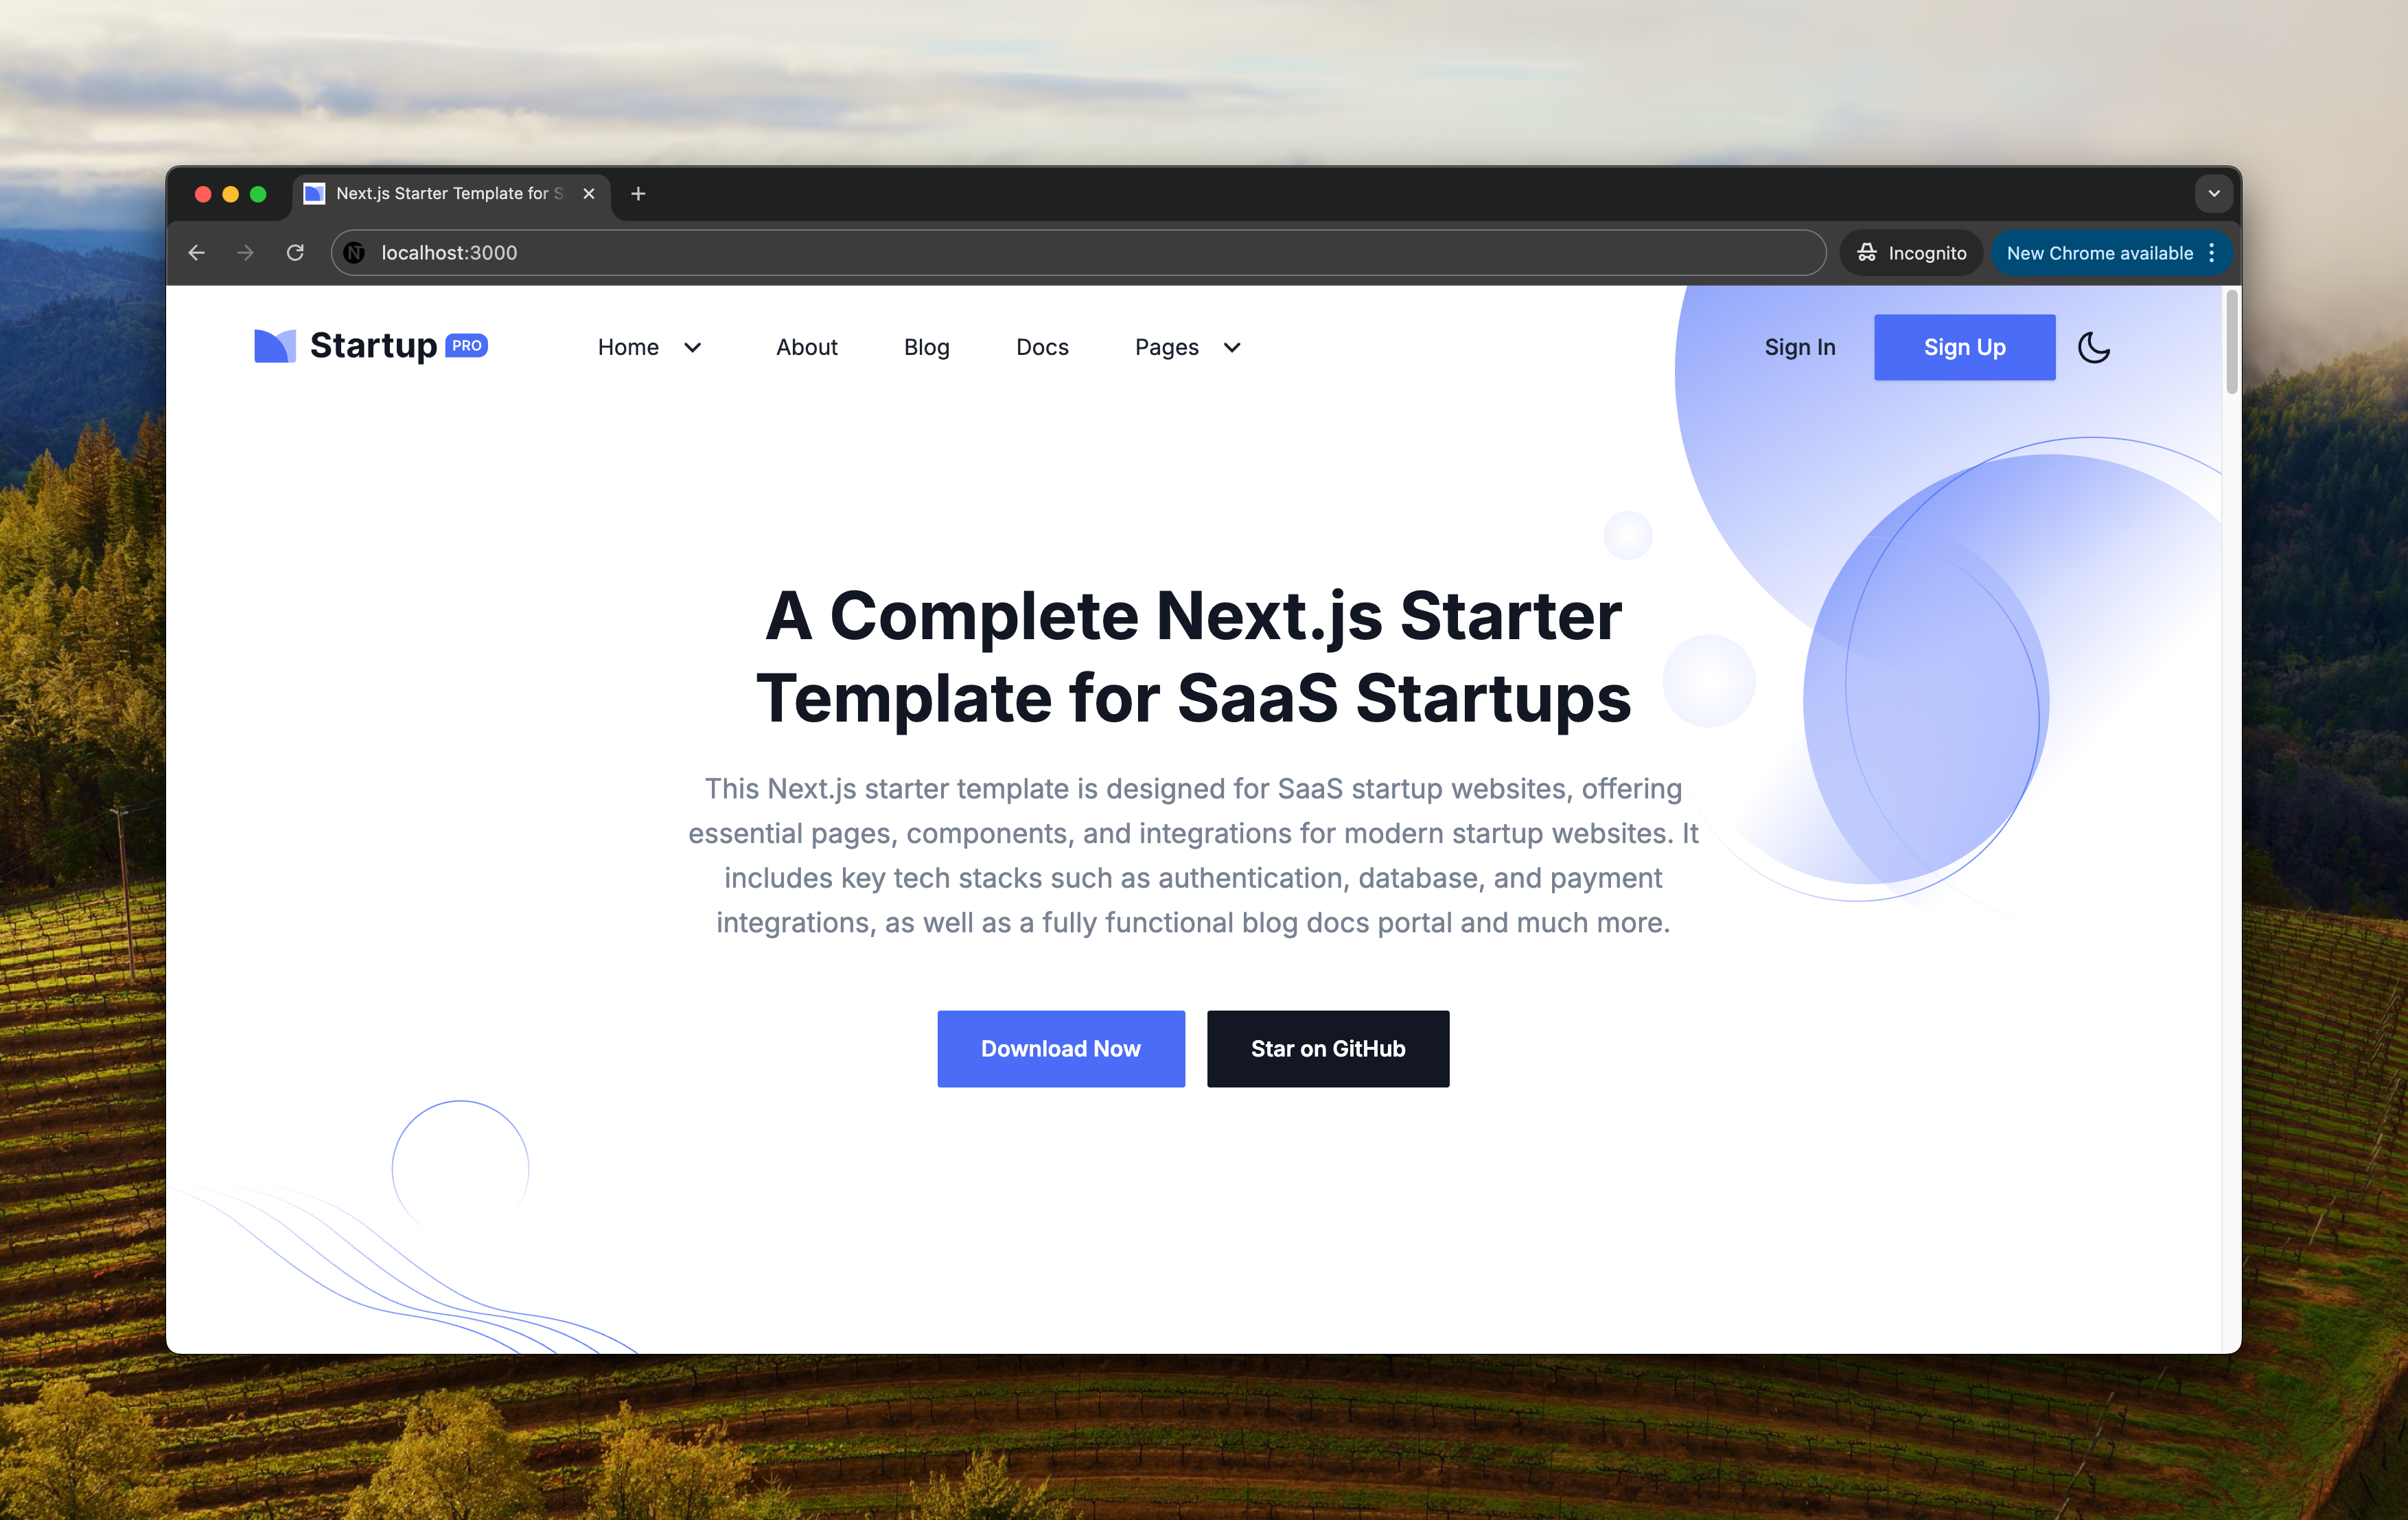
Step 2: Deploy to Vercel
-
Sign In to Vercel:
- Visit
vercel.comand sign up or log in using GitHub, GitLab, or email. - Complete the onboarding if prompted.
- Visit
-
Import Your Repository:
- From the Vercel dashboard, click “New Project.”
- Under “Import Git Repository,” select your provider (e.g., GitHub) and authorize Vercel if needed.
- Choose the
nextjs-boilerplaterepository and click “Import.”
-
Configure Project Settings:
- Framework Preset: Vercel should auto-detect “Next.js.” If not, select it manually.
- Root Directory: Leave as default (
./) unless your boilerplate uses a custom structure.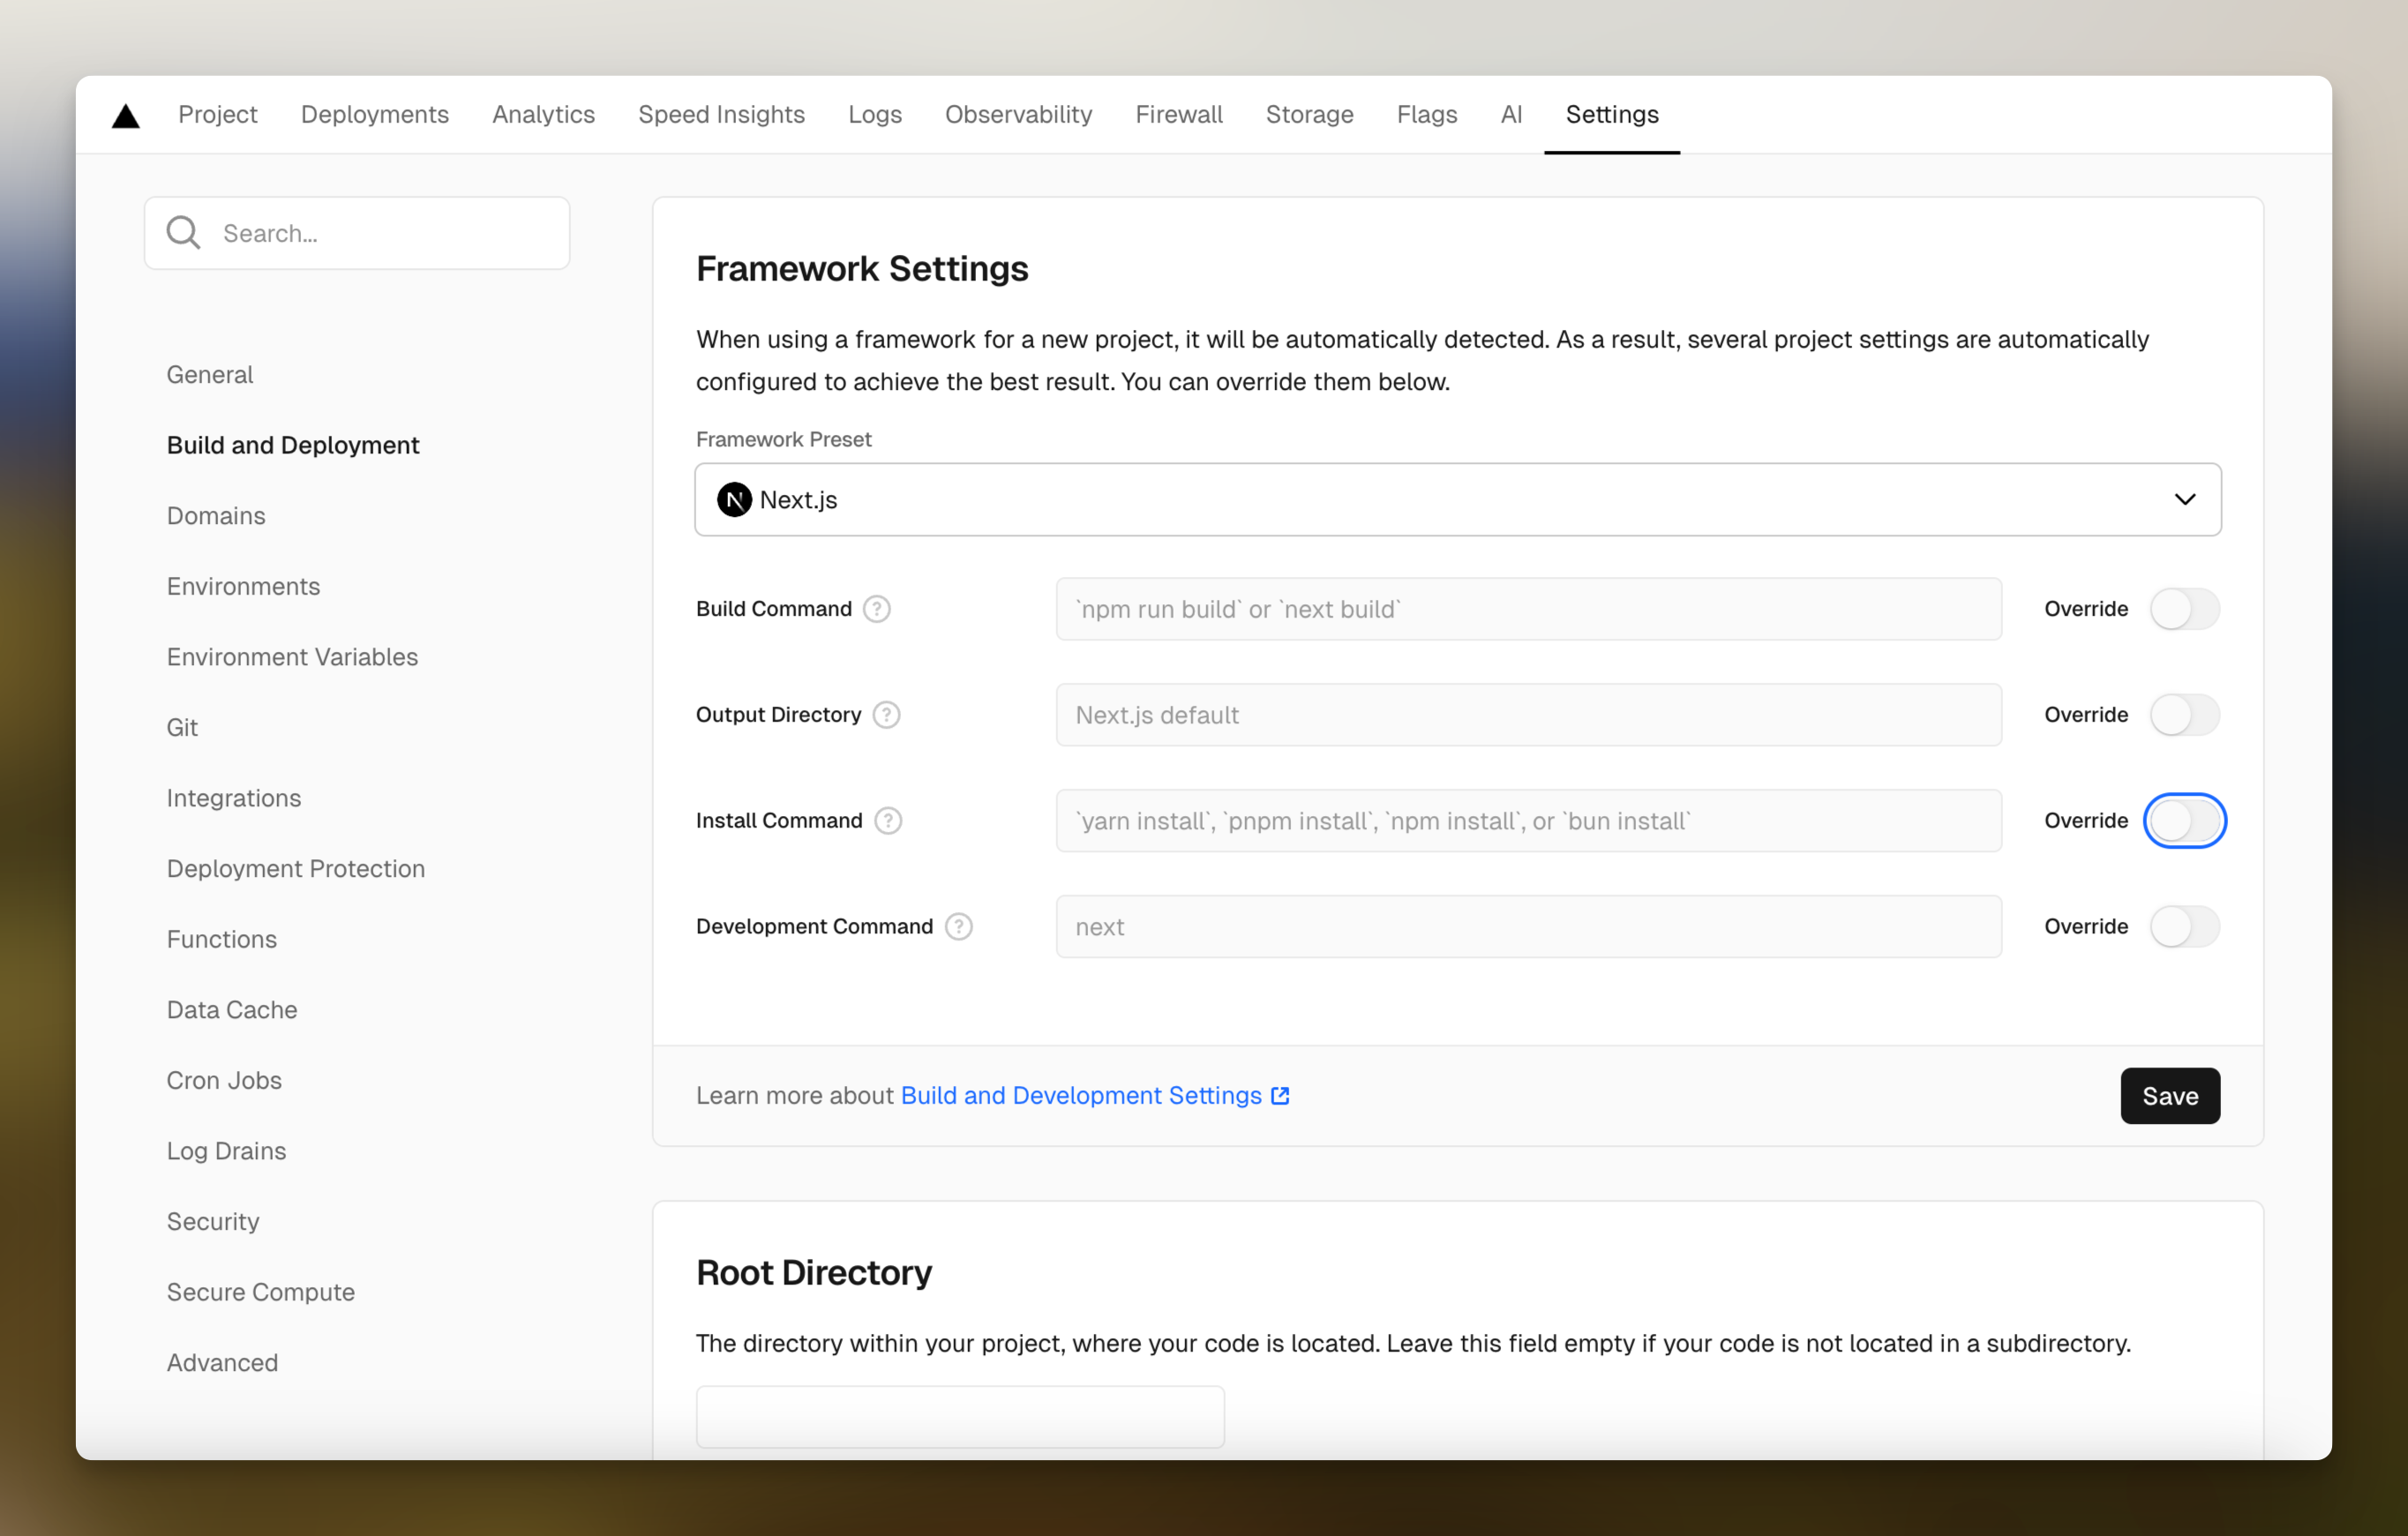
- Build Settings: Vercel uses defaults (
npm run buildfor build,npm run startfor production). Most boilerplates don’t need changes. - Environment Variables: If your boilerplate requires variables (e.g., API keys for Stripe or Sanity), add them under “Environment Variables.” For now, skip if none are needed.

- Click “Deploy.”
-
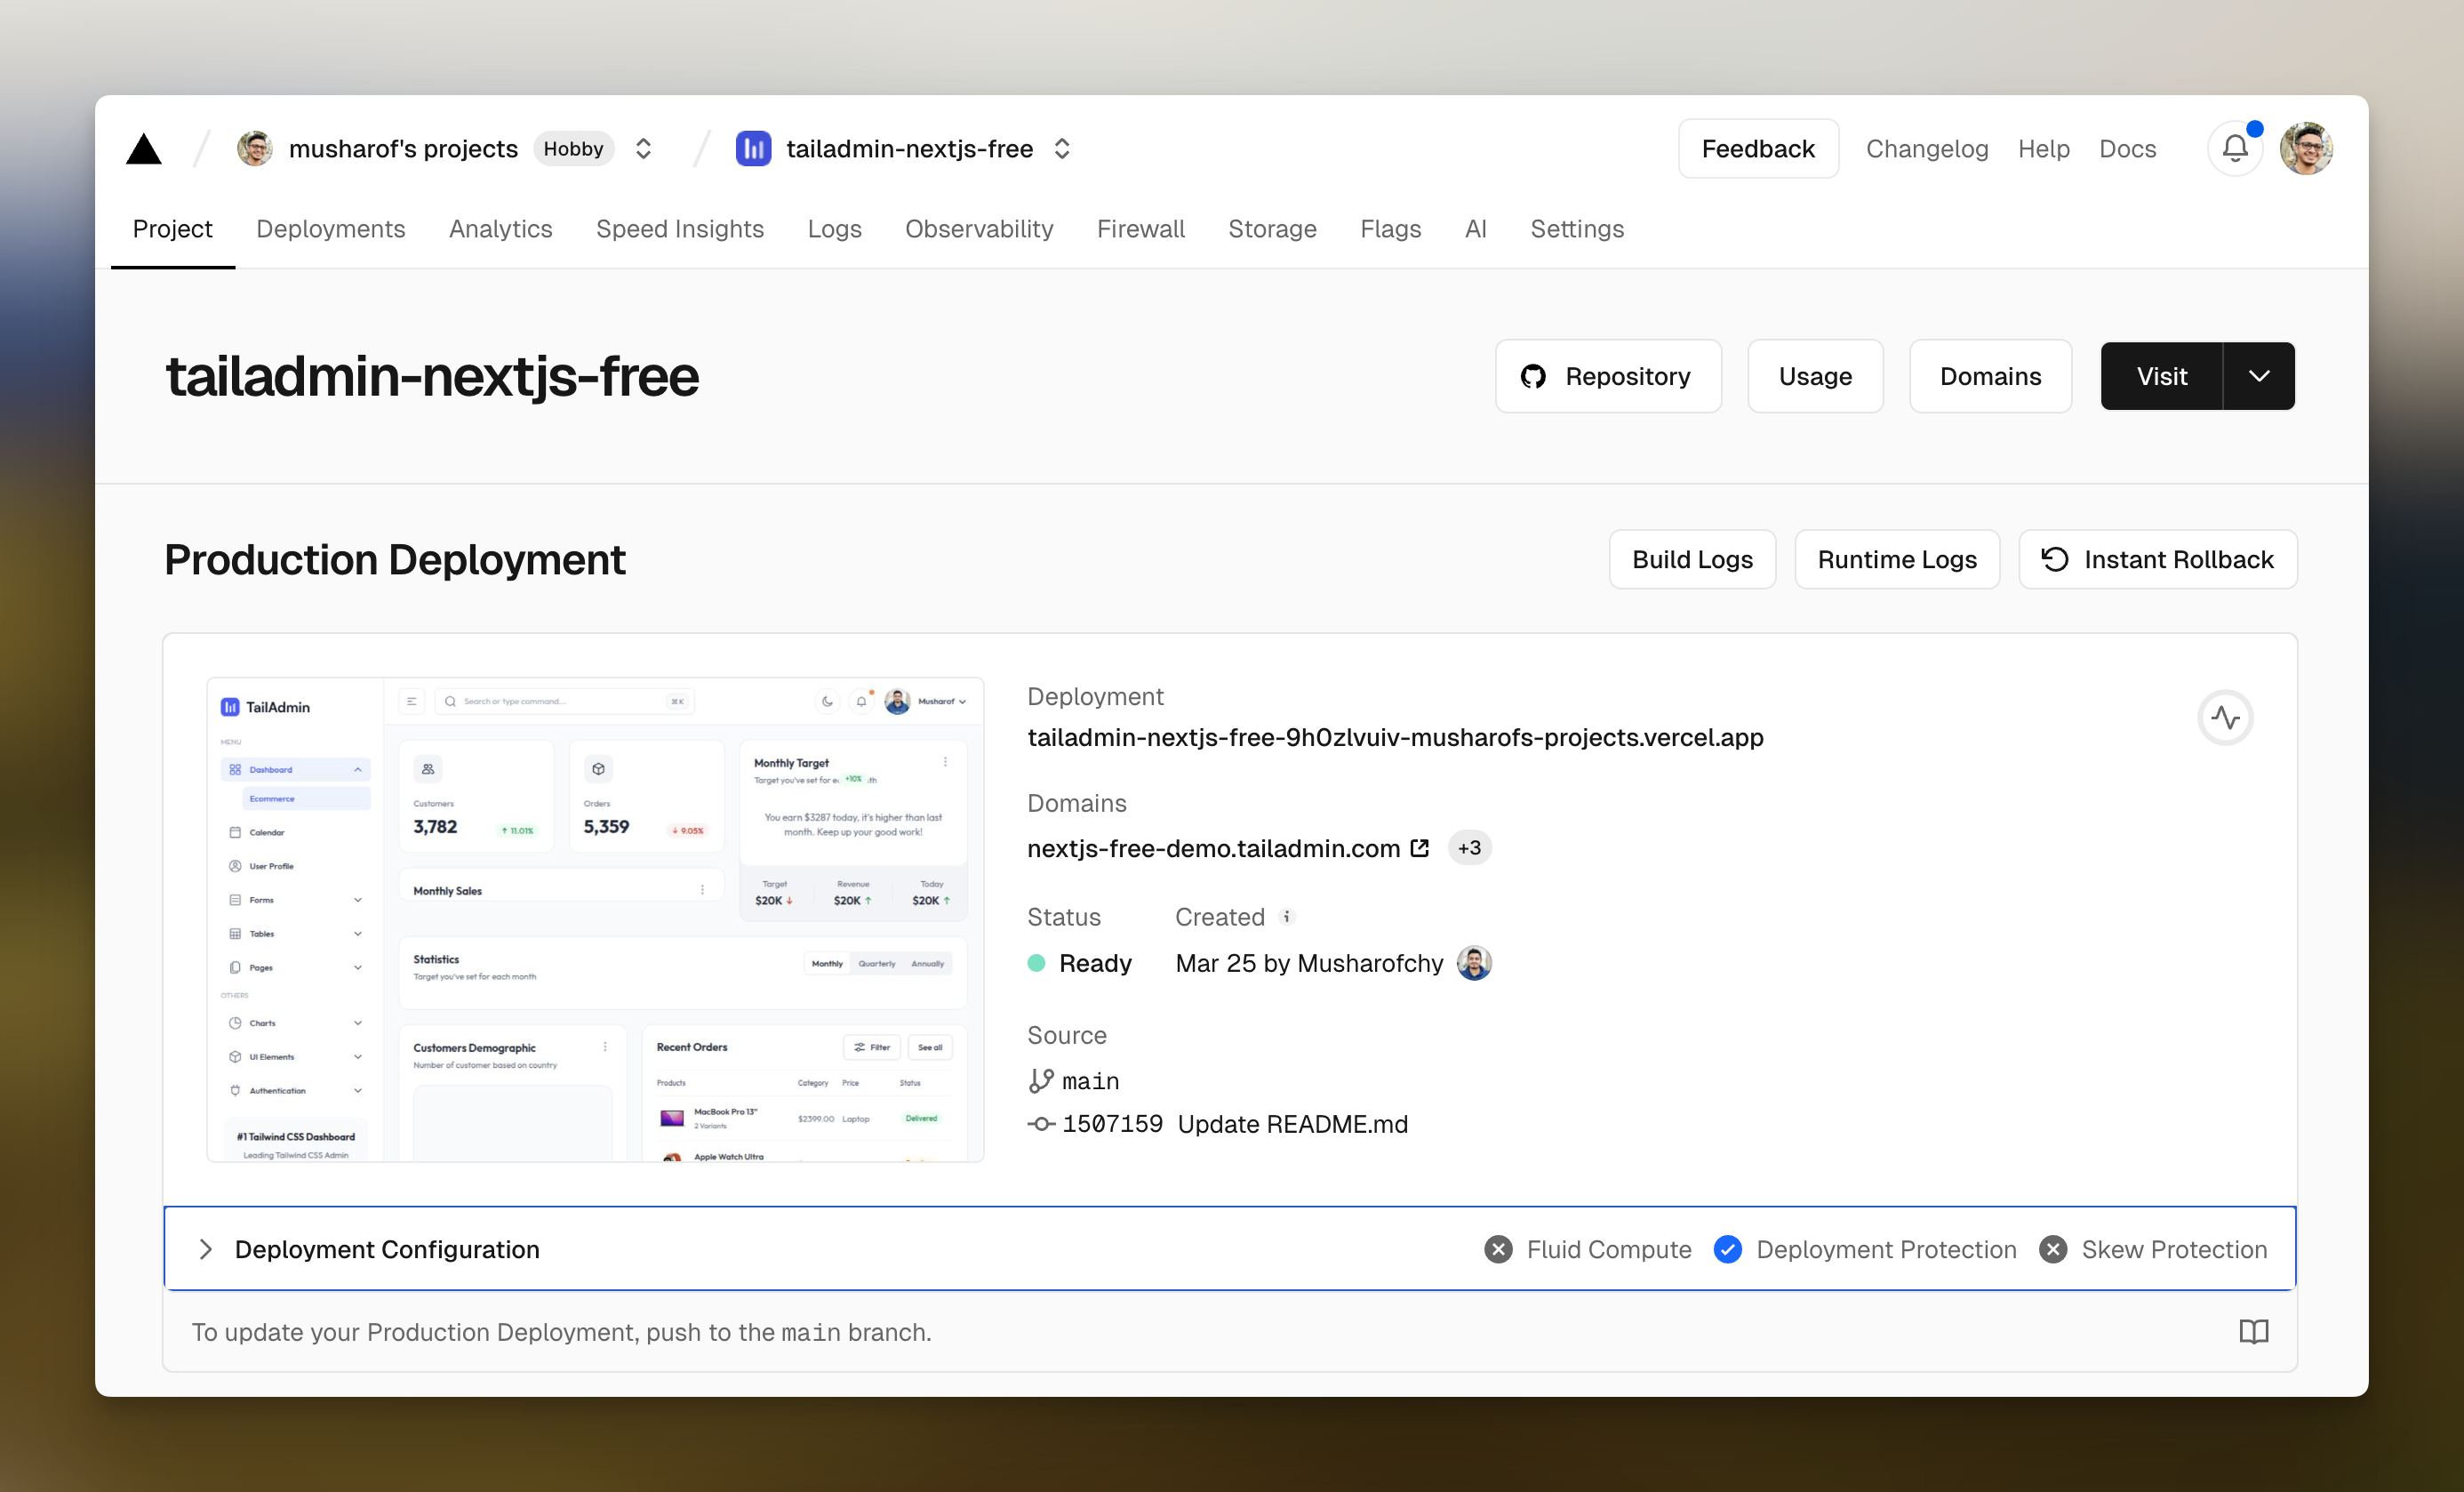
Wait for Deployment:
- Vercel will install dependencies, build the Next.js app, and deploy it. This takes 1–3 minutes.
- Once complete, you’ll see a success message with a live URL (e.g.,
https://nextjs-boilerplate-abc123.vercel.app).
Step 3: Verify and Customize Your Deployment
-
Visit Your Live Site:
- Click the live URL provided by Vercel to view your deployed boilerplate.
- Test features like navigation, forms, or dynamic content (if included in the boilerplate).
-
Set Up a Custom Domain (Optional):
- In the Vercel dashboard, go to your project, then the “Domains” tab.
-
Update the Boilerplate:
- Make changes locally (e.g., customize Tailwind CSS or add pages).
- Push updates to GitHub:
git add . git commit -m "Updated styles" git push origin main - Vercel auto-deploys the changes within minutes.

Troubleshooting Tips
- Build Errors: Check Vercel’s deployment logs for issues like missing dependencies or incorrect Node.js versions. Most boilerplates specify the required version in
package.json. - Environment Variables: If features (e.g., authentication) fail, ensure all required variables are added in Vercel’s settings.
- Stuck Deployment: Restart the deployment from the Vercel dashboard or verify your Git repository is up-to-date.
- Support: Visit
vercel.com/helpor your boilerplate’s docs (e.g.,nextjstemplates.com/docs) for help.
Congratulations! Your Next.js boilerplate is now live on Vercel. 🚀