
Adding Authentication to Next.js Project Using Auth.js: A Step-by-Step Guide
In today’s web applications, authentication plays a critical role. It ensures that only authorized users can access specific resources or perform certain actions. As a result, authentication helps protect sensitive data and maintain user privacy.
Just like a password ensures that your online accounts remain yours.
In this guide, we will explore a straightforward and secure approach to managing authentication in modern Next.js applications. We will set up passwordless authentication using Auth.js, a widely used authentication solution in the Next.js ecosystem.
Auth.js allows users to sign in using social login providers such as GitHub, Google, Facebook, and Twitter (X). After a successful sign-in, we will be able to access basic user information, such as profile images and email addresses, provided by these platforms.
So, let’s walk through a step-by-step guide to adding authentication to a Next.js project using Auth.js, which now powers what was previously known as NextAuth.js.
Prerequisites
Before we begin, make sure the following basics are covered:
- Curiosity and willingness to learn
- Basic understanding of Next.js
- Familiarity with React fundamentals
- Node.js is installed, along with npm or yarn
- A code editor of your choice
- Basic command-line knowledge
Once these are in place, we can get started.
What is Auth.js?
Auth.js is an open-source authentication framework designed to work seamlessly with modern Next.js applications. It is part of a broader effort to provide authentication solutions that are not limited to a single framework, while still offering first-class support for Next.js.
You can learn more about it on the official Auth.js website.
Auth.js supports authentication through popular OAuth providers, including GitHub, Google, Facebook, and more. It also includes built-in support for passwordless sign-in methods, such as email magic links.
With Auth.js, developers can implement authentication without having to manually handle OAuth flows, token management, or low-level security concerns. This makes it a practical and reliable choice for adding authentication to Next.js projects.
Key Features of Auth.js
- Easy: Built-in support for OAuth providers, email authentication, and passwordless login. Integrates directly with Next.js, eliminating the need for in-depth knowledge of authentication protocols.
- Flexible: Supports serverless environments, database-backed or JWT-based sessions, and works across multiple databases and deployment setups.
- Secure: Uses signed, server-only cookies, CSRF protection, and modern token standards such as JWS, JWE, and JWK for secure authentication.
Setting Up Auth with the Next.js Project
To get started, you can either create a new Next.js project or use an existing one. Here's a step-by-step guide to help you get started:
Installation: Create a folder named 'next-auth-app' or any other name you prefer.
Open your command line and navigate to the directory of your Next.js project. Then, run the below command:
npx create-next-app@latestYou will be presented with a series of questions on your terminal. Select the same options as shown in the screenshot below:
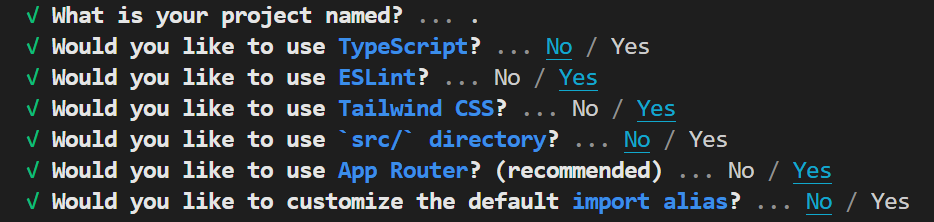
In the project named Question, we have put. (dot) As we are already in the project directory.
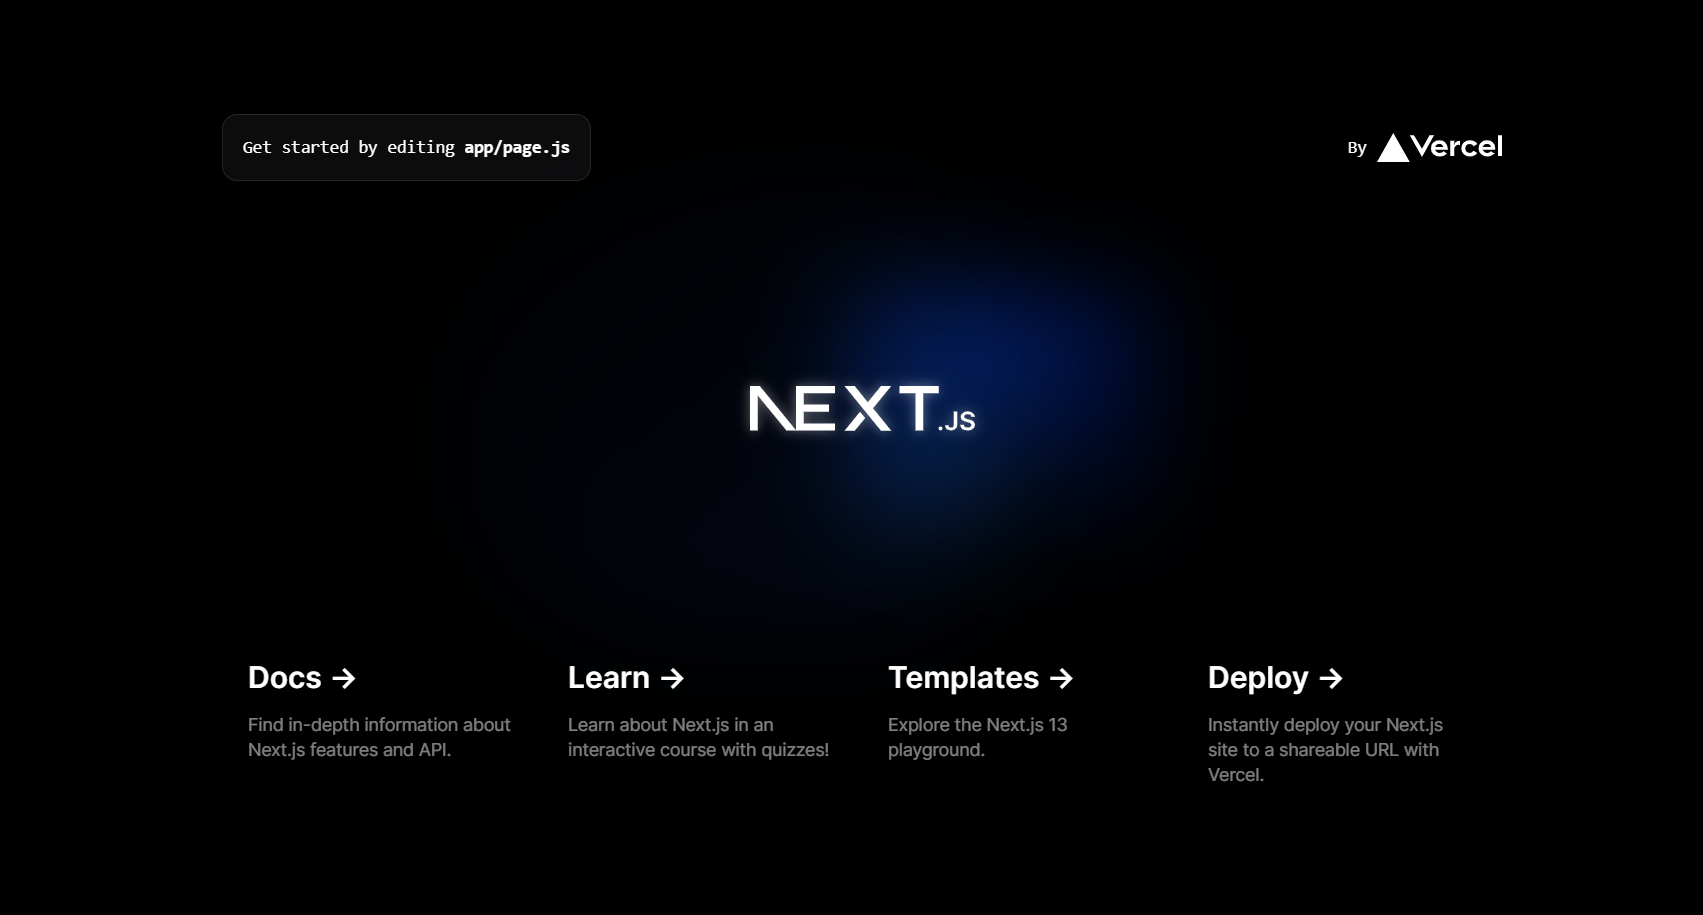
Now, launch the development server by using the command below:
npm run dev By default, the project will run on port 3000. Open your browser and visit http://localhost:3000. You should see the page displayed as:
Setting Authentication with Auth.js
Now that we've successfully set up the Next.js starter application, it's time to add authentication for our Next.js project using Auth.js.
This section on configuring authentication with Auth.js will go through the following steps:
- Installing NextAuth.js
- Setting up a GitHub OAuth app
- Creating a Google OAuth app
Let's begin by installing Auth.js. The installation process is straightforward, as it's available as an NPM package.
Installing Auth.js
Open your command line and navigate to the directory of your Next.js project. Then, run the command below:
npm i next-authOnce the installation is complete, you can configure Auth.js for your project.
In our demonstration, we'll allow users to sign in to our application using their GitHub or Google accounts.
Creating a GitHub OAuth app
Our next step involves adding a GitHub Authentication Provider, which allows users to access our application through their GitHub accounts. However, before we proceed, we must create a GitHub OAuth app.
Creating a GitHub OAuth app involves several steps. Here's a step to proceed:
Navigate to Developer Settings
- Log in to your GitHub account.
- Click on your profile picture in the top right corner.
- From the dropdown, select "Settings."
- On the left sidebar, scroll down and select "Developer settings."
You can also visit the GitHub OAuth Apps page directly. Now you will get a webpage as shown below:
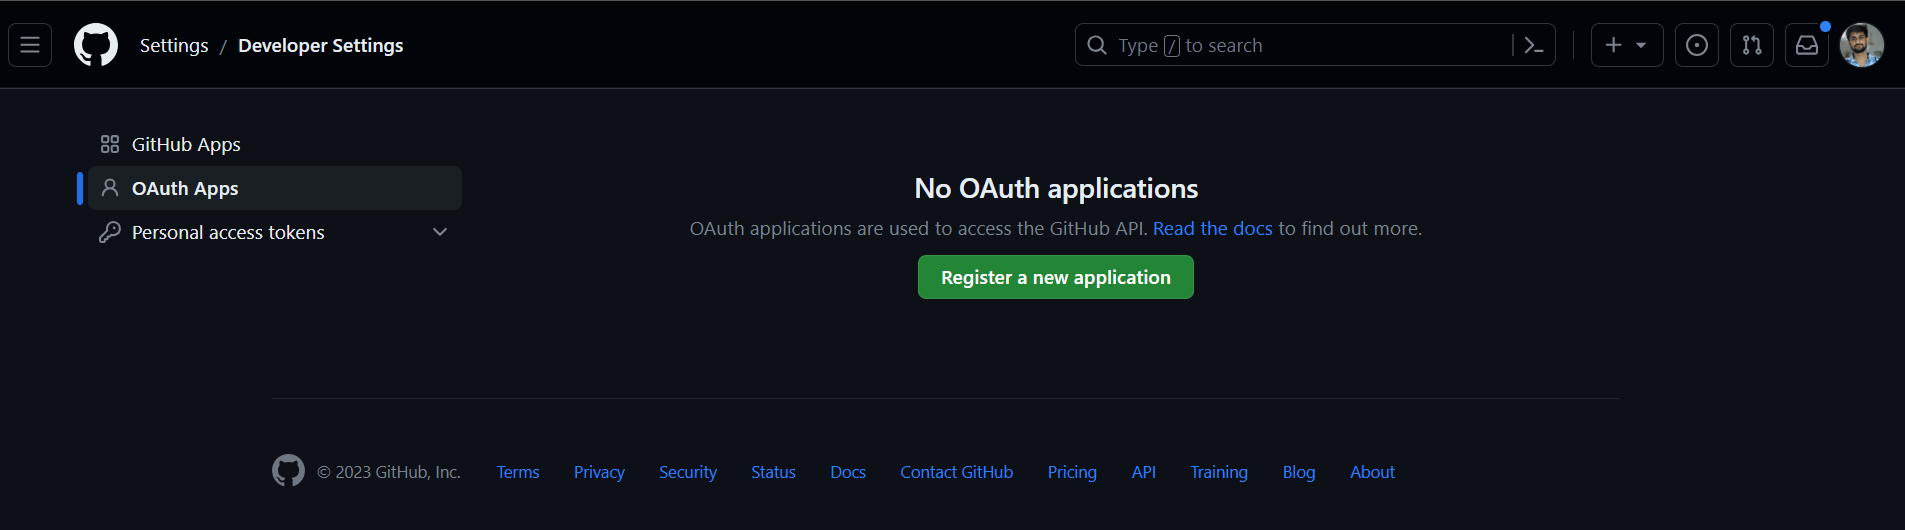
or

Now, click the "Register New Application" if you are here for the first time, or you will get the "New OAuth App" button if you already have another GitHub OAuth app.
OAuth App Configuration
Fill out the following details for your GitHub OAuth app:
- Application name: Give your app a name.
- Homepage URL: The URL to your app's homepage. Since we're currently in development mode, we'll need to input the complete URL of our development server. In this case, the URL is http://localhost:3000.
- Application description: A brief description of your app and its purpose.
- Authorization callback URL: The URL where GitHub should redirect users after they authorize your app.
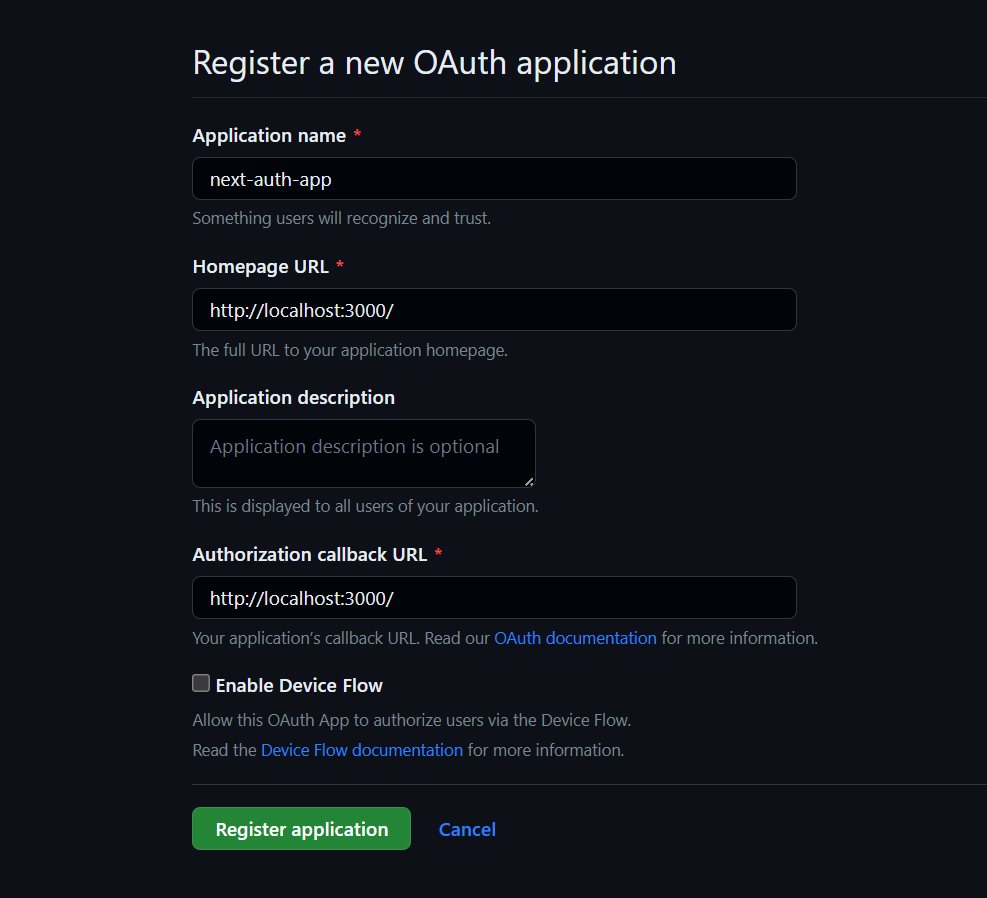
Click the "Register application" button to generate your OAuth app.
After registration, GitHub generates a unique Client ID and Client Secret specifically for our newly created application. Please copy both the Client ID and Client Secret key to your clipboard. If needed, you can click on "Generate new client secret" to obtain a new Client Secret.
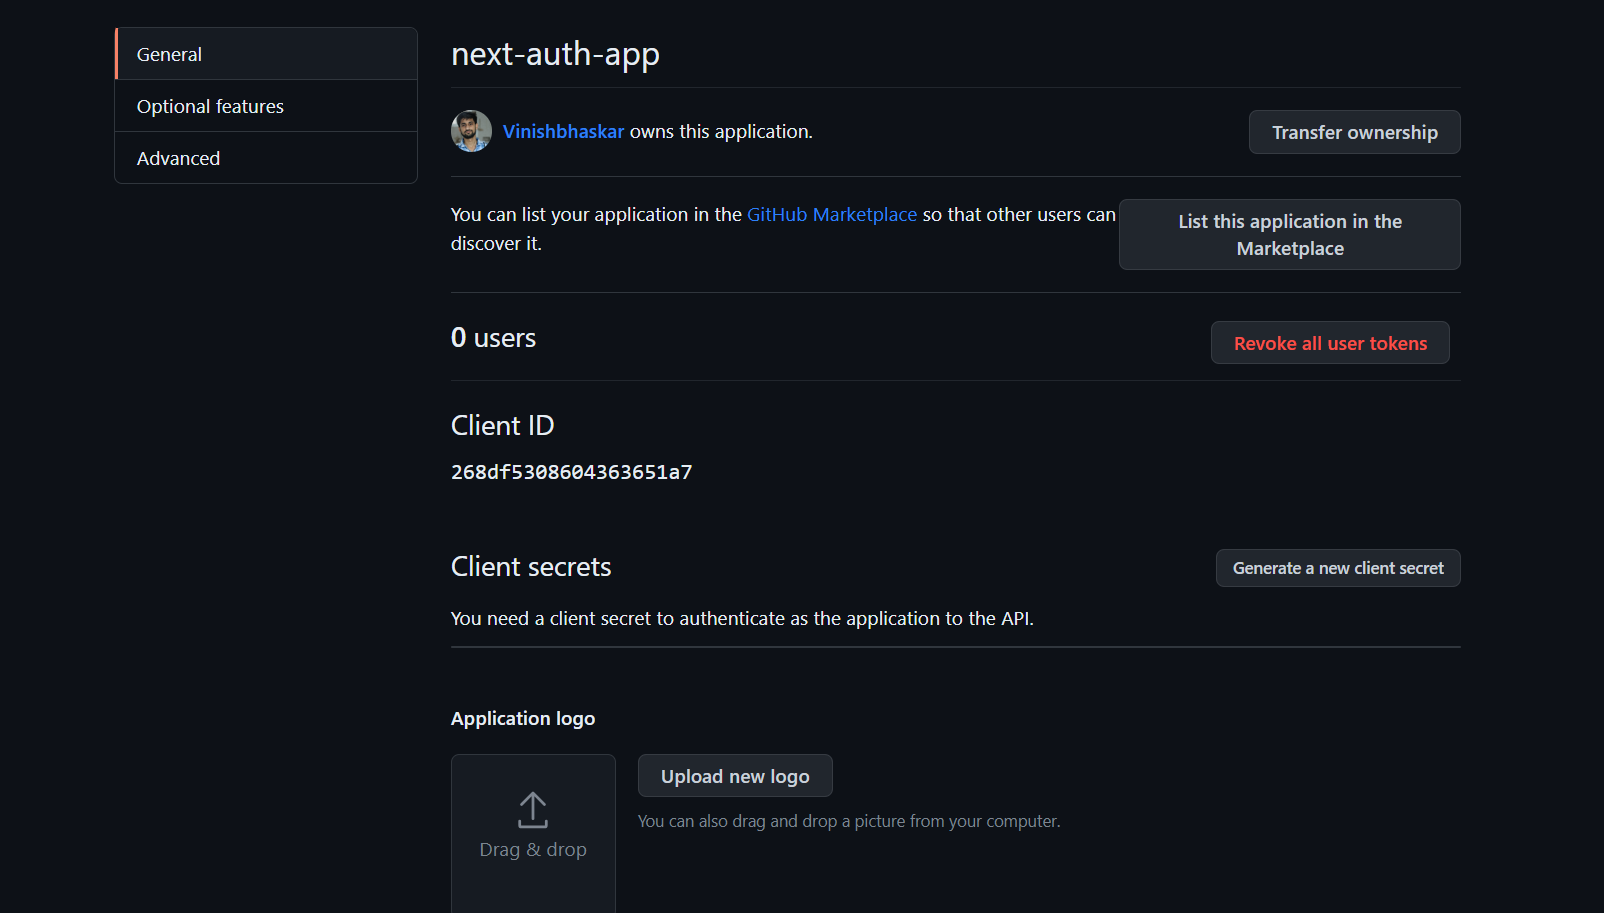
We have successfully created a GitHub OAuth application and got the GitHub Client ID and secrets for our further process.
Configuring Environment Variables
You'll need to configure environment variables to set up Auth.js authentication within the Next.js application.
Here's how you can create a .env file in a Next.js project and include the GitHub OAuth app credentials, NextAuth Secrets
Create a new file in your Next.js project's root directory and name it .env.
Add GitHub OAuth Credentials to .env
- Open the .env file in a text editor.
- Add your GitHub OAuth app credentials as environment variables like this:
GITHUB_CLIENT_ID=your_client_id GITHUB_CLIENT_SECRET=your_client_secret
Replace your_client_id and your_client_secret with the values you obtained when creating the GitHub OAuth app.
Now, generate the NEXTAUTH_SECRET variable using the command :
openssl rand -base64 32It will generate a random key for your Next.js application

Note: If you don’t provide a NEXTAUTH_SECRET variable, NextAuth.js will automatically generate a new key at the start of every server. That will make all your signed tokens and sessions invalid every time your server restarts. You are strongly recommended to provide your own NEXTAUTH_SECRET variable for consistent sessions.
Our .env contains these lines of code; copy and paste them:
GITHUB_CLIENT_ID=<Github_Client_Id>
GITHUB_CLIENT_SECRET=<Github_Client_Secret>
NEXTAUTH_URL=http://localhost:3000
NEXTAUTH_SECRET=<NEXTAUTH_SECRET_KEY>Replace <GITHUB_CLIENT_ID>, <GITHUB_CLIENT_SECRET>, and <NEXTAUTH_SECRET_KEY> with your GitHub client ID, secret key, and your NextAuth secret.
Remember to keep your .env file safe and never commit it to a public repository, as it contains sensitive information such as your GitHub OAuth app credentials.
Now, get back to our App and create an api/auth/[…nextauth]/route.js file in the app directory and add the following code in the route.js file:
import NextAuth from "next-auth/next";
import GithubProvider from "next-auth/providers/github";
const handler = NextAuth({
providers: [
GithubProvider({
clientId: process.env.GITHUB_CLIENT_ID,
clientSecret: process.env.GITHUB_CLIENT_SECRET,
}),
],
});
export { handler as GET, handler as POST };
In the above code snippet, we import the GitHubProvider from "next-auth/providers/github." It creates a handler responsible for handling authentication requests.
The GitHub client ID and secret are fetched from the environment variables GITHUB_CLIENT_ID and GITHUB_CLIENT_SECRET. Finally, we export this handler with both GET and POST methods, indicating that it will handle both HTTP requests for authentication routes.
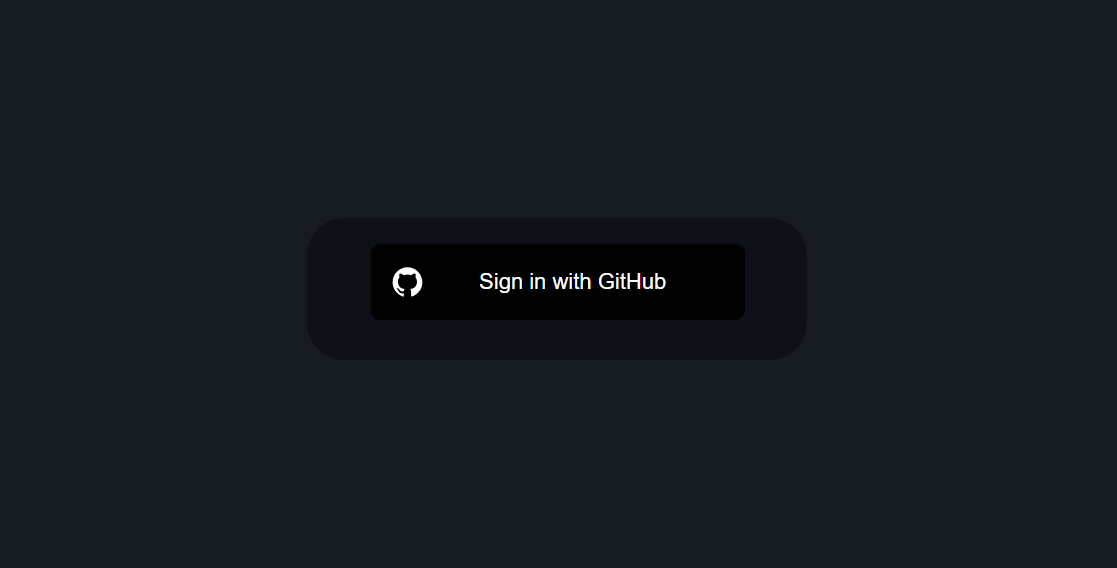
Then, navigate to http://localhost:3000/api/auth/signin, and you should see this:
Similarly, we can add Google Outh after generating CLIENT_ID and CLIENT_SECRET_ID and adding it to the .env file. Follow the docs to generate Google OAuth credentials.
The routes file code will look like this:
import NextAuth from "next-auth/next";
import GithubProvider from "next-auth/providers/github";
import GoogleProvider from "next-auth/providers/google";
const handler = NextAuth({
providers: [
GithubProvider({
clientId: process.env.GITHUB_CLIENT_ID,
clientSecret: process.env.GITHUB_CLIENT_SECRET,
}),
GoogleProvider({
clientId: process.env.GOOGLE_CLIENT_ID,
clientSecret: process.env.GOOGLE_CLIENT_SECRET,
}),
],
});
export { handler as GET, handler as POST };
We successfully integrated authentication into the Next.js project using Auth.js, which supports GitHub and Google providers.
Conclusion
In this guide, we added authentication to a Next.js template, boilerplate, and dashboard using Auth.js. Users can sign in securely with OAuth providers and access basic information.
It simplifies authentication by managing security, sessions, and provider integrations behind the scenes, making it easier to implement.
While this guide focuses on GitHub and Google sign-in, Auth.js also supports advanced features, including session customization, database-backed authentication, and route protection.
Please check out this documentation to enhance your learning.
Related Articles

Musharof
Compatibility Issues with Next.js 15: npm install --legacy-peer-deps
You may have noticed that we've already updated all our templates to Next.js 15. While this puts us slightly ahead of th
Read More
Musharof
All templates, boilerplates, and starter kits are now updated to Next.js 16.0.10
We’re excited to announce an important upgrade for our Next.js Templates users. All templates available on Next.js
Read More
Sumaiya Afrin Kanak
7+ Best AI Website Templates for 2026 - Agents, Chatbots, Starter Kits
Do you know what the new trend is in building an AI website ? You must have guessed it by now! Yes, it is the AI websit
Read More